


Get behind the lens and show us your best pictures
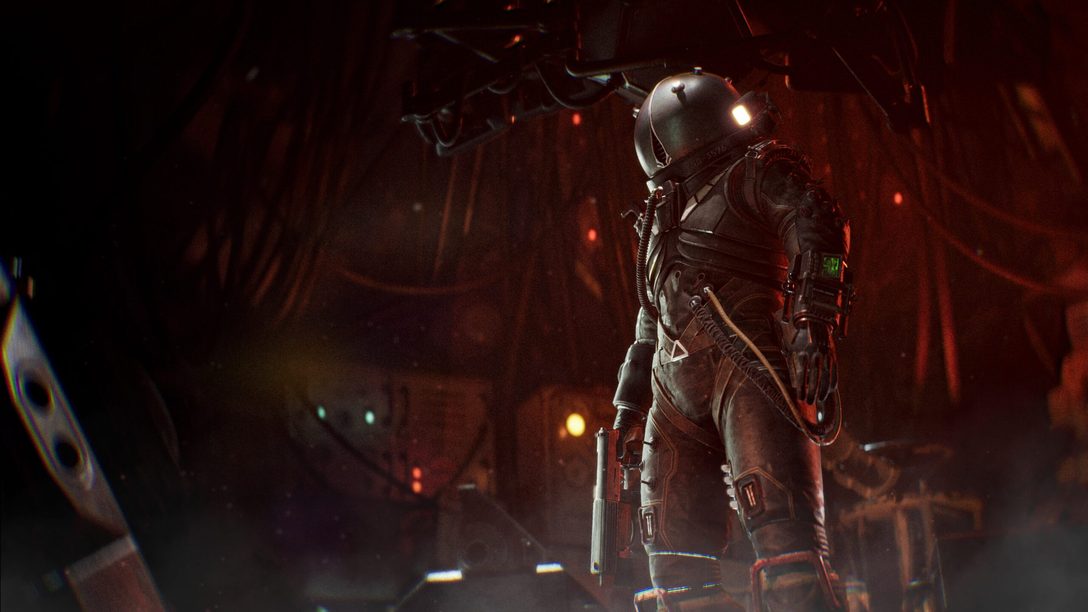
The deliciously detailed world of Uncharted 4 just begs players to hit the SHARE button and grab a few mementos of Drake’s latest adventure. Handily, the day one patch includes a special photo mode that, once enabled in the Options menu, will let you capture the action with a photographer’s poise.
There’s a wide range of options to choose from, so we’ve put together a few handy tips to help you nail the perfect shots.
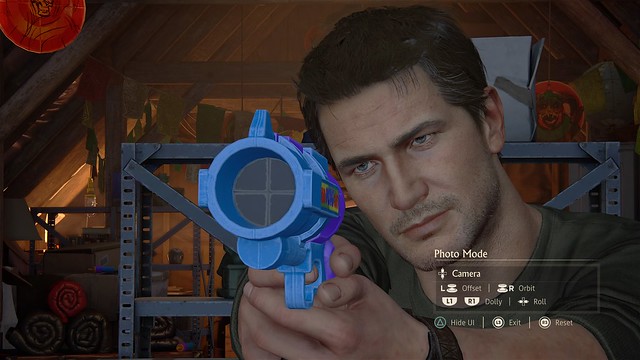
1. Get up close and personal.
Uncharted 4’s Photo Mode Camera controls come equipped with ‘Dolly’ settings allowing you to ease in and out (R1/ L1), tilt controls (Left/Right on the Directional Pad)to put your own slant on things and a ‘Field of View’ adjustment that allow you to focus in more closely on specific details.
Don’t be afraid to try some different angles and go a little rogue with your photography.
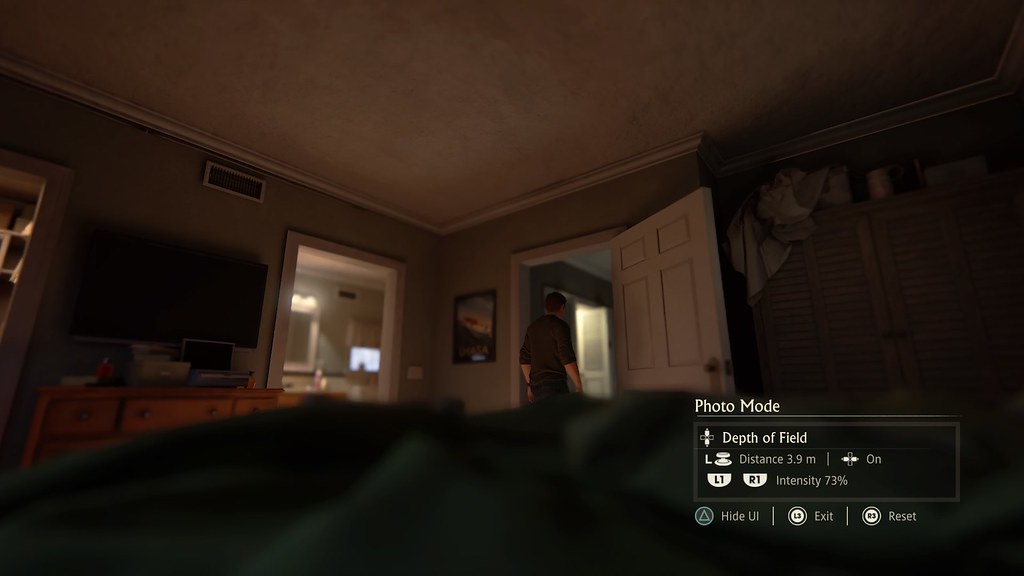
2. Draw focus.
A great trick to highlight specific objects in an image is to place them in direct focus. Uncharted 4’s Photo Mode features a ‘Depth of Field’ setting which will allow you to draw focus to objects at a certain distance, making it stand out within the image.
We’d recommend upping the intensity of the effect initially (R1, setting the exact distance you want and then gradually rolling back the intensity (L1) until you hit the perfect level.
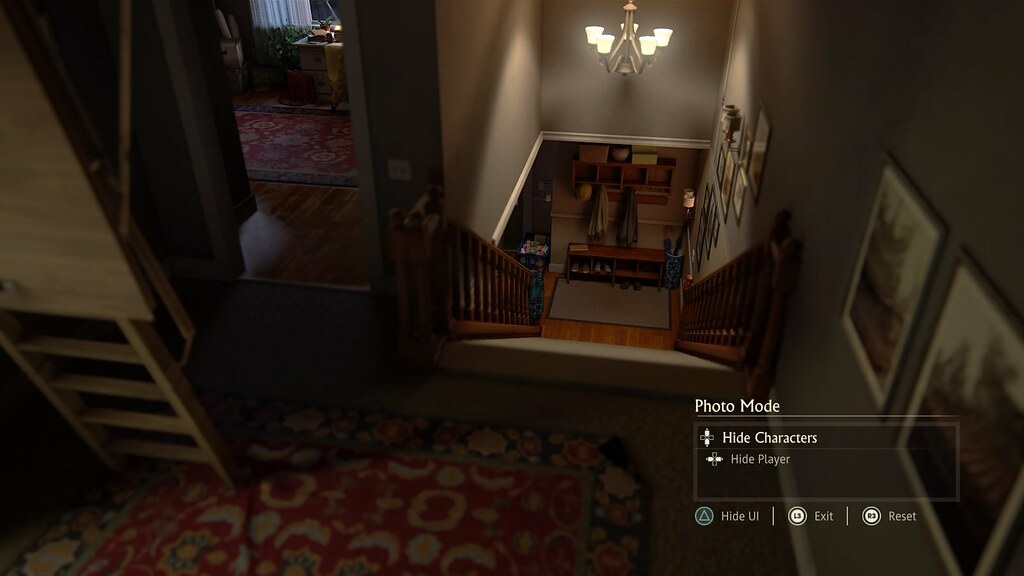
3. Hide the characters.
Sometimes less is more. If you’d rather just capture a dramatic landscape or a stunning piece of architecture without any of the cast ‘photobombing’ you, you can always choose to remove them from the scene with the ‘Hide Characters’ option.
Best of all, you don’t have to remove everybody: you can opt to remove the player character, your buddies, your enemies or even civilians and just capture exactly what you want.
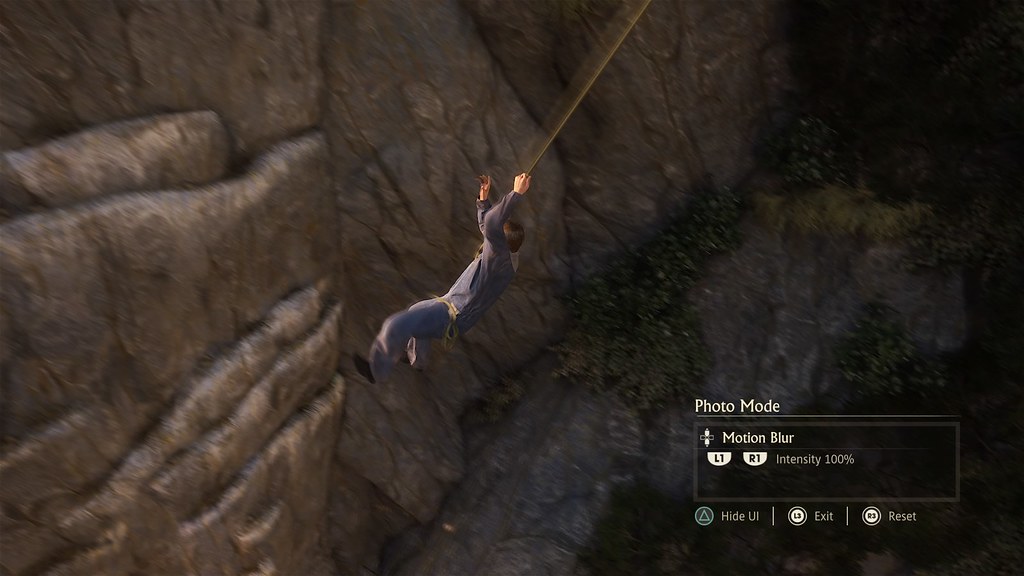
4. Set things in motion.
A little natural motion blur is a great way to add a sense of movement to a static image. Swinging across a ravine can take on a whole new sense of drama when the sheer cliff faces are whizzing by in a blur.
You can add as much or as little as you like, so play around until you’re happy with the balance.
5. Add some finishing touches.
Once you’ve set up the perfect shot there’s a whole range of options to tweak the final look. Some of these you might have come across before, some might be less familiar. ‘Sharpness’, ‘Brightness’ and ‘Saturation’ will likely be familiar to most, but some others may be less so:
- Chromatic Aberration is a phenomenon commonly seen in photography where certain colours of the spectrum appear to ‘bleed’ from the edges of objects in an image. We’d suggest playing with the filter to see what we mean.
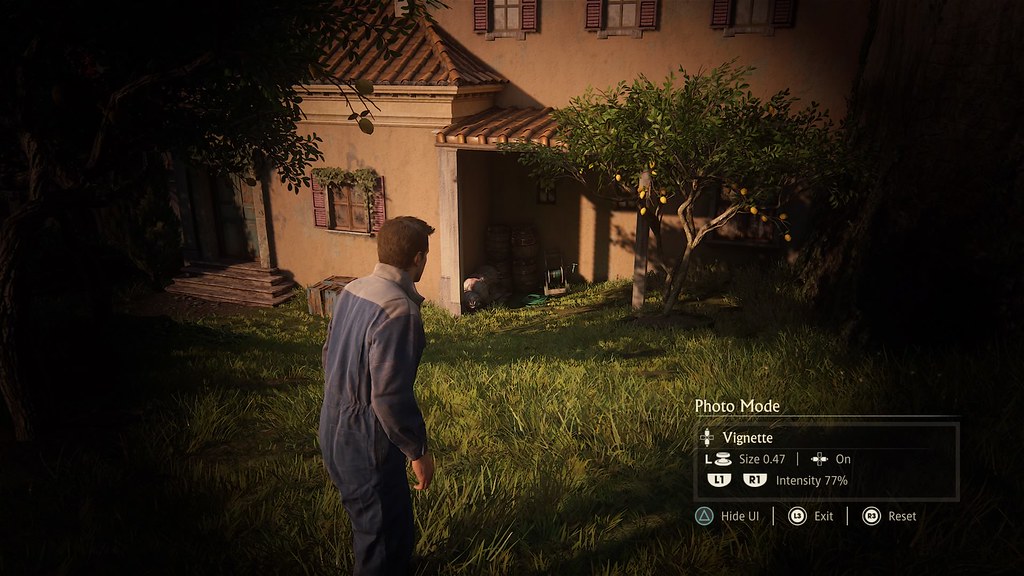
- Film Grain adds a filter to image that replicates some of the traditional ‘noise’ found in analogue recording. It’s a funky effect that gives pictures a classically cinematic look and feel.
- Vignette creates a bright focal point radiating out from the centre of your image, darkening away towards the edges. It’s great for adding a sense of brooding or foreboding to an image.
6. Break out a filter.
Uncharted 4’s Photo Mode includes a range of pre-set filters to add a unique twist to your images. You can add a warm vintage feel to your images, some moody noir tones or go super classy with a black and white effect. Each brings its own particular feel or look to the image, so play around and find the one that works for you.

7. Use PNG format for the highest quality.
By default, the PlayStation 4 saves your screenshots in a compressed ‘JPEG’ format. These are a great way to save storage space, but it does come at a cost to the quality. If you really want to capture every intricate detail, switch to PNG.
You can adjust this from the ‘Share’ menu by pressing [OPTIONS], then selecting ‘Sharing and Broadcast Settings’, ‘Screenshot Settings’ and toggling ‘Image Format’ to ‘PNG’.
With all these tips in hand, you should now be poised to capture some breath-taking shots from Uncharted 4. Please share your favourites with us on Twitter – we’ll RT the best!


Join the Conversation
Add a CommentBut don't be a jerk!
15 Comments
Loading More Comments