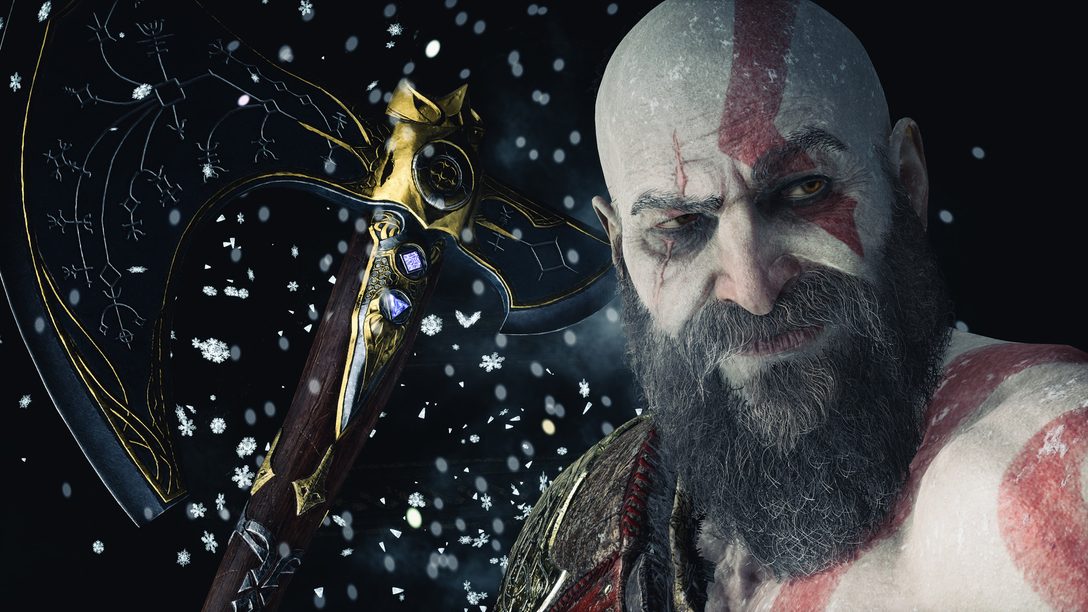
Tips from two of our community video game photographers to help you get that perfect shot.
Photo Mode is now officially in God of War Ragnarök, and we’ve loved what the community has shared so far.
To help you create even more perfect in-game shots, we’ve asked two of our most active community photographers to give you the advice you need to take your photo to the next level.
Hosts of the podcast Photomode Unplugged and prolific contributors to the God of War photographer community, we’ve asked TheFourthFocus and DotPone to give us their top tips for those of you looking to get snapping in God of War Ragnarök.
Getting Started in Video Game Photography
TheFourthFocus
Virtual photography is a great way for players to engage more with the games they love and, with its recent photo mode update, God of War Ragnarök has joined the photography party.
By enabling a set of in-game tools that mimic the use of a real-world camera, the photo mode can be used to capture original and creative shots of Kratos and Atreus’ journey throughout the Nine Realms.
Found via the Options menu, the photo mode will freeze the game and allow players to move around the scene with a virtual camera. As with any type of photography, mastering the composition and arranging elements within the frame is key to a compelling image, so work the camera using the analog sticks to find a good angle. Pay close attention to the lighting direction and be sure to put emphasis on the chosen subject while avoiding distractions that draw the eye away – get these right and most of the hard work has already been done.

TheFourthFocus
Go-to settings
TheFourthFocus
For me, the most important settings in the photo mode are those that affect the actual composition of the shot and change how the camera captures the scene. Start off by adjusting how wide the view within the frame is, either by directly setting the Field of View angle or by changing the Focal Length to “zoom” in or out.
Notice that a long Focal Length creates a narrow Field of View angle and vice versa, and that each can greatly influence the style of the shot.
As a general rule, a longer Focal Length is great for getting up-close or removing clutter from the frame, while a short Focal Length creates a wide angle that adds perspective distortion and can make shots look more dynamic.
If it’s portraits that you are interested in, the 50 – 85 mm is a real sweet spot.

TheFourthFocus
Of course, there is no point in setting up a well-framed shot if the subject is completely blurry, so switch over to the Focus Distance setting to place the point of focus on the subject so they appear nice and sharp.
A top tip here is to aim for the eyes as they create the strongest connection to the viewer.
Next to this setting, you’ll also find the f-stop value which can be used to control the depth of field – essentially that is how much of a scene appears in sharp focus. Increasing the f-stop value will bring more of the foreground and background into focus, while decreasing it creates a shallow depth of field that can be used to separate a subject from the background and create a soft bokeh effect.
Portrait Shots
DotPone
DotPone
Portraits are popular for a reason. They represent the character we grew to love (or hate) in the game. If, like me, you are a sucker for black background portrait shots with good lighting on the characters, you can’t go wrong with the main arena of The Crucible in Muspelheim.
However, today I’m going to talk to you about another technique: framing.
You will want to capture more than the physical representation of the character in your portraits for them to stand out. You will want your portrait to display emotion in the viewers; therefore, the character must also show said emotion.
On the photography side of things, the composition will ultimately make or break your shot. A great way to take you closer to a good composition is by using an element of your foreground to frame something in the background. God of War Ragnarök gives you the perfect tool for this with the Blades of Chaos and its ballet of fire.
By using an animation where Kratos throws the Blades, I use its chains to frame his face and ensure the subject keeps eye contact with the camera.
This choice makes it seem they are looking straight at the viewer when displaying their emotions.
Then, by using one of the many facial expressions available in the photo mode and the options in the Shutter section to blur out everything but Kratos, I make sure that he is the first thing the viewer notices when looking at my picture.
Action Shots
TheFourthFocus
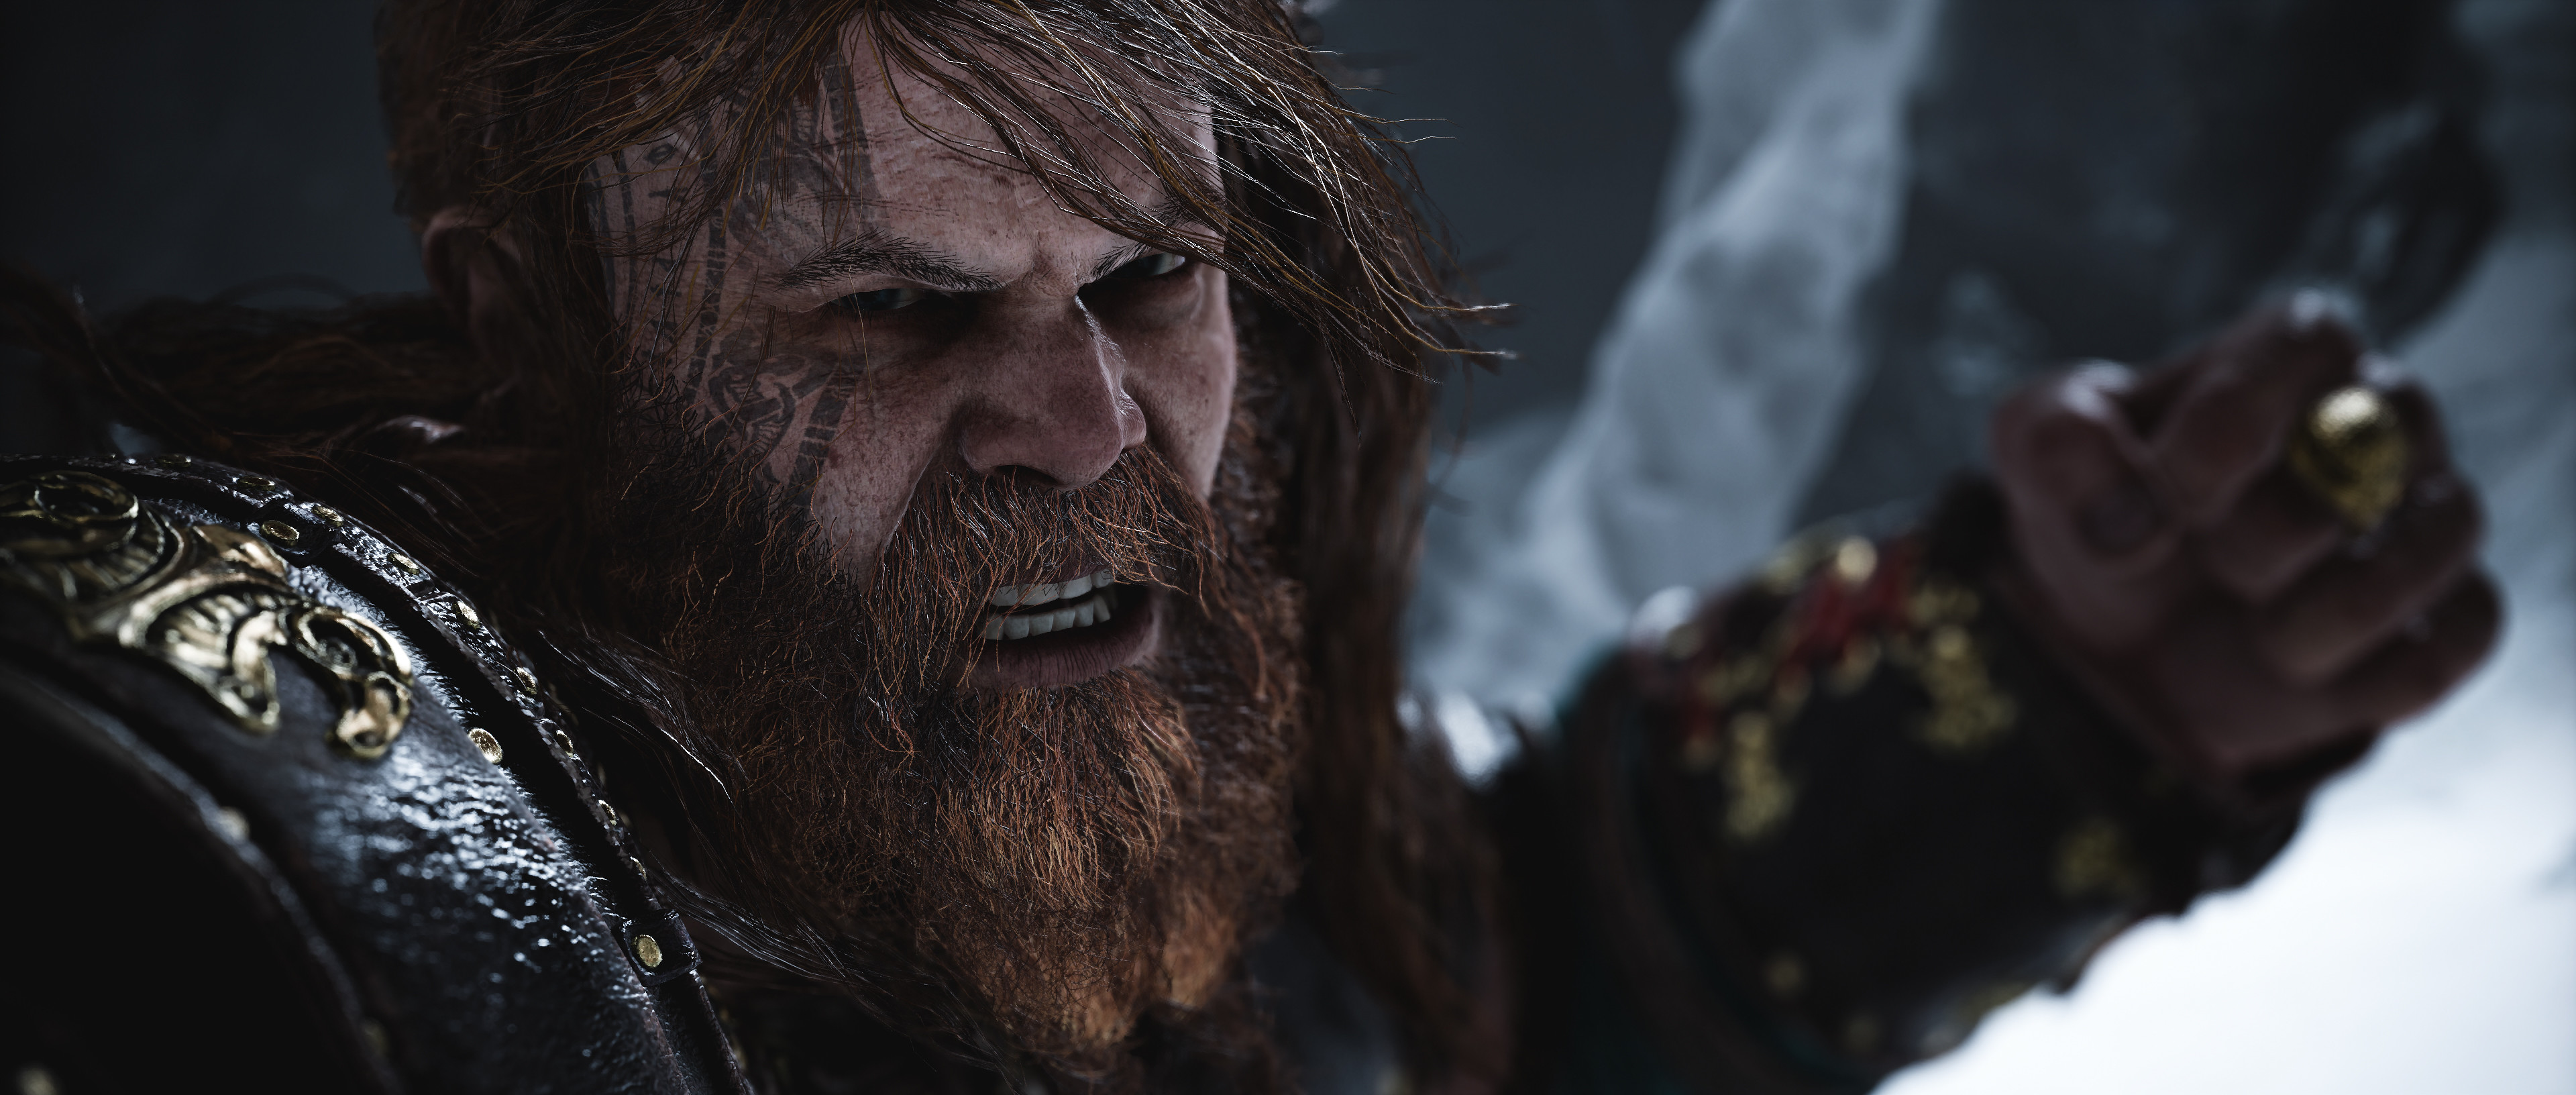
Getting good action shots can be challenging and is all about capturing a dynamic look that lets the image tell the story of what is happening. With a limited camera range, you’ll often need to get quite close to any enemies you want to photograph, but sometimes it is worth taking a hit to get the shot.
A wider Field of View can help to get the action in the frame, and a little camera roll is a really useful way to create a feeling of motion or even disorientation that works well with combat.
TheFourthFocus
As usual, it is also worth thinking about eyeline and trying to find a viewpoint that makes it look like the characters and enemies are in each other’s line of sight. This is a great way to make action and combat shots feel more engaged and believable.
Landscape Shots
DotPone

DotPone
God of War Ragnarök’s setting is the perfect subject for a photo mode!
You get a ton of variety by visiting all Nine Realms in this game, from the fiery lava field arenas in Muspelheim to the paradisiac lush jungle of Vanaheim.
However, these levels were brought to life by the talented developers at Santa Monica, and simply pointing the camera and snapping a shot isn’t enough to make them your own. If you want your pictures to stand out, you might want to look for a different angle or look to capture the less obvious thing.
In my opinion, landscape shots are some of the most complex because instead of having a single element, you want to draw the viewer’s attention to an entire location.
I chose to capture a simple scene we take for granted while playing the game – a boat parked on the shore of the lake in Svartalfheim. I proceeded with a low-angle shot of one of the less obvious things in the lake and blurred out the vegetation in the foreground to give the image a sense of depth.
Locations and Filters
TheFourthFocus
There are a whole host of stunning locations in God of War Ragnarök that make great subjects themselves, but they can also be useful to create a different feel to your shots in general.
Many locations come with their own distinct colour palette and different lighting feel that can totally transform a portrait for example. Whether it’s the rich, warm tones of Ironwood or the cold blues of Niflheim, try visiting different realms for more varied results.
The same goes for the colour filters that are found in the photo mode and they are an obvious way to adjust the overall tones of the image in any location.
Don’t just rely on the default values though, dial down the intensity for a more subtle effect, and shift the Vibrancy & Saturation settings to control how vivid the colours appear. Tweaks like this can be the thing that sets your shot apart.

TheFourthFocus
How to Get Involved in the VGP Community
DotPone
DotPone
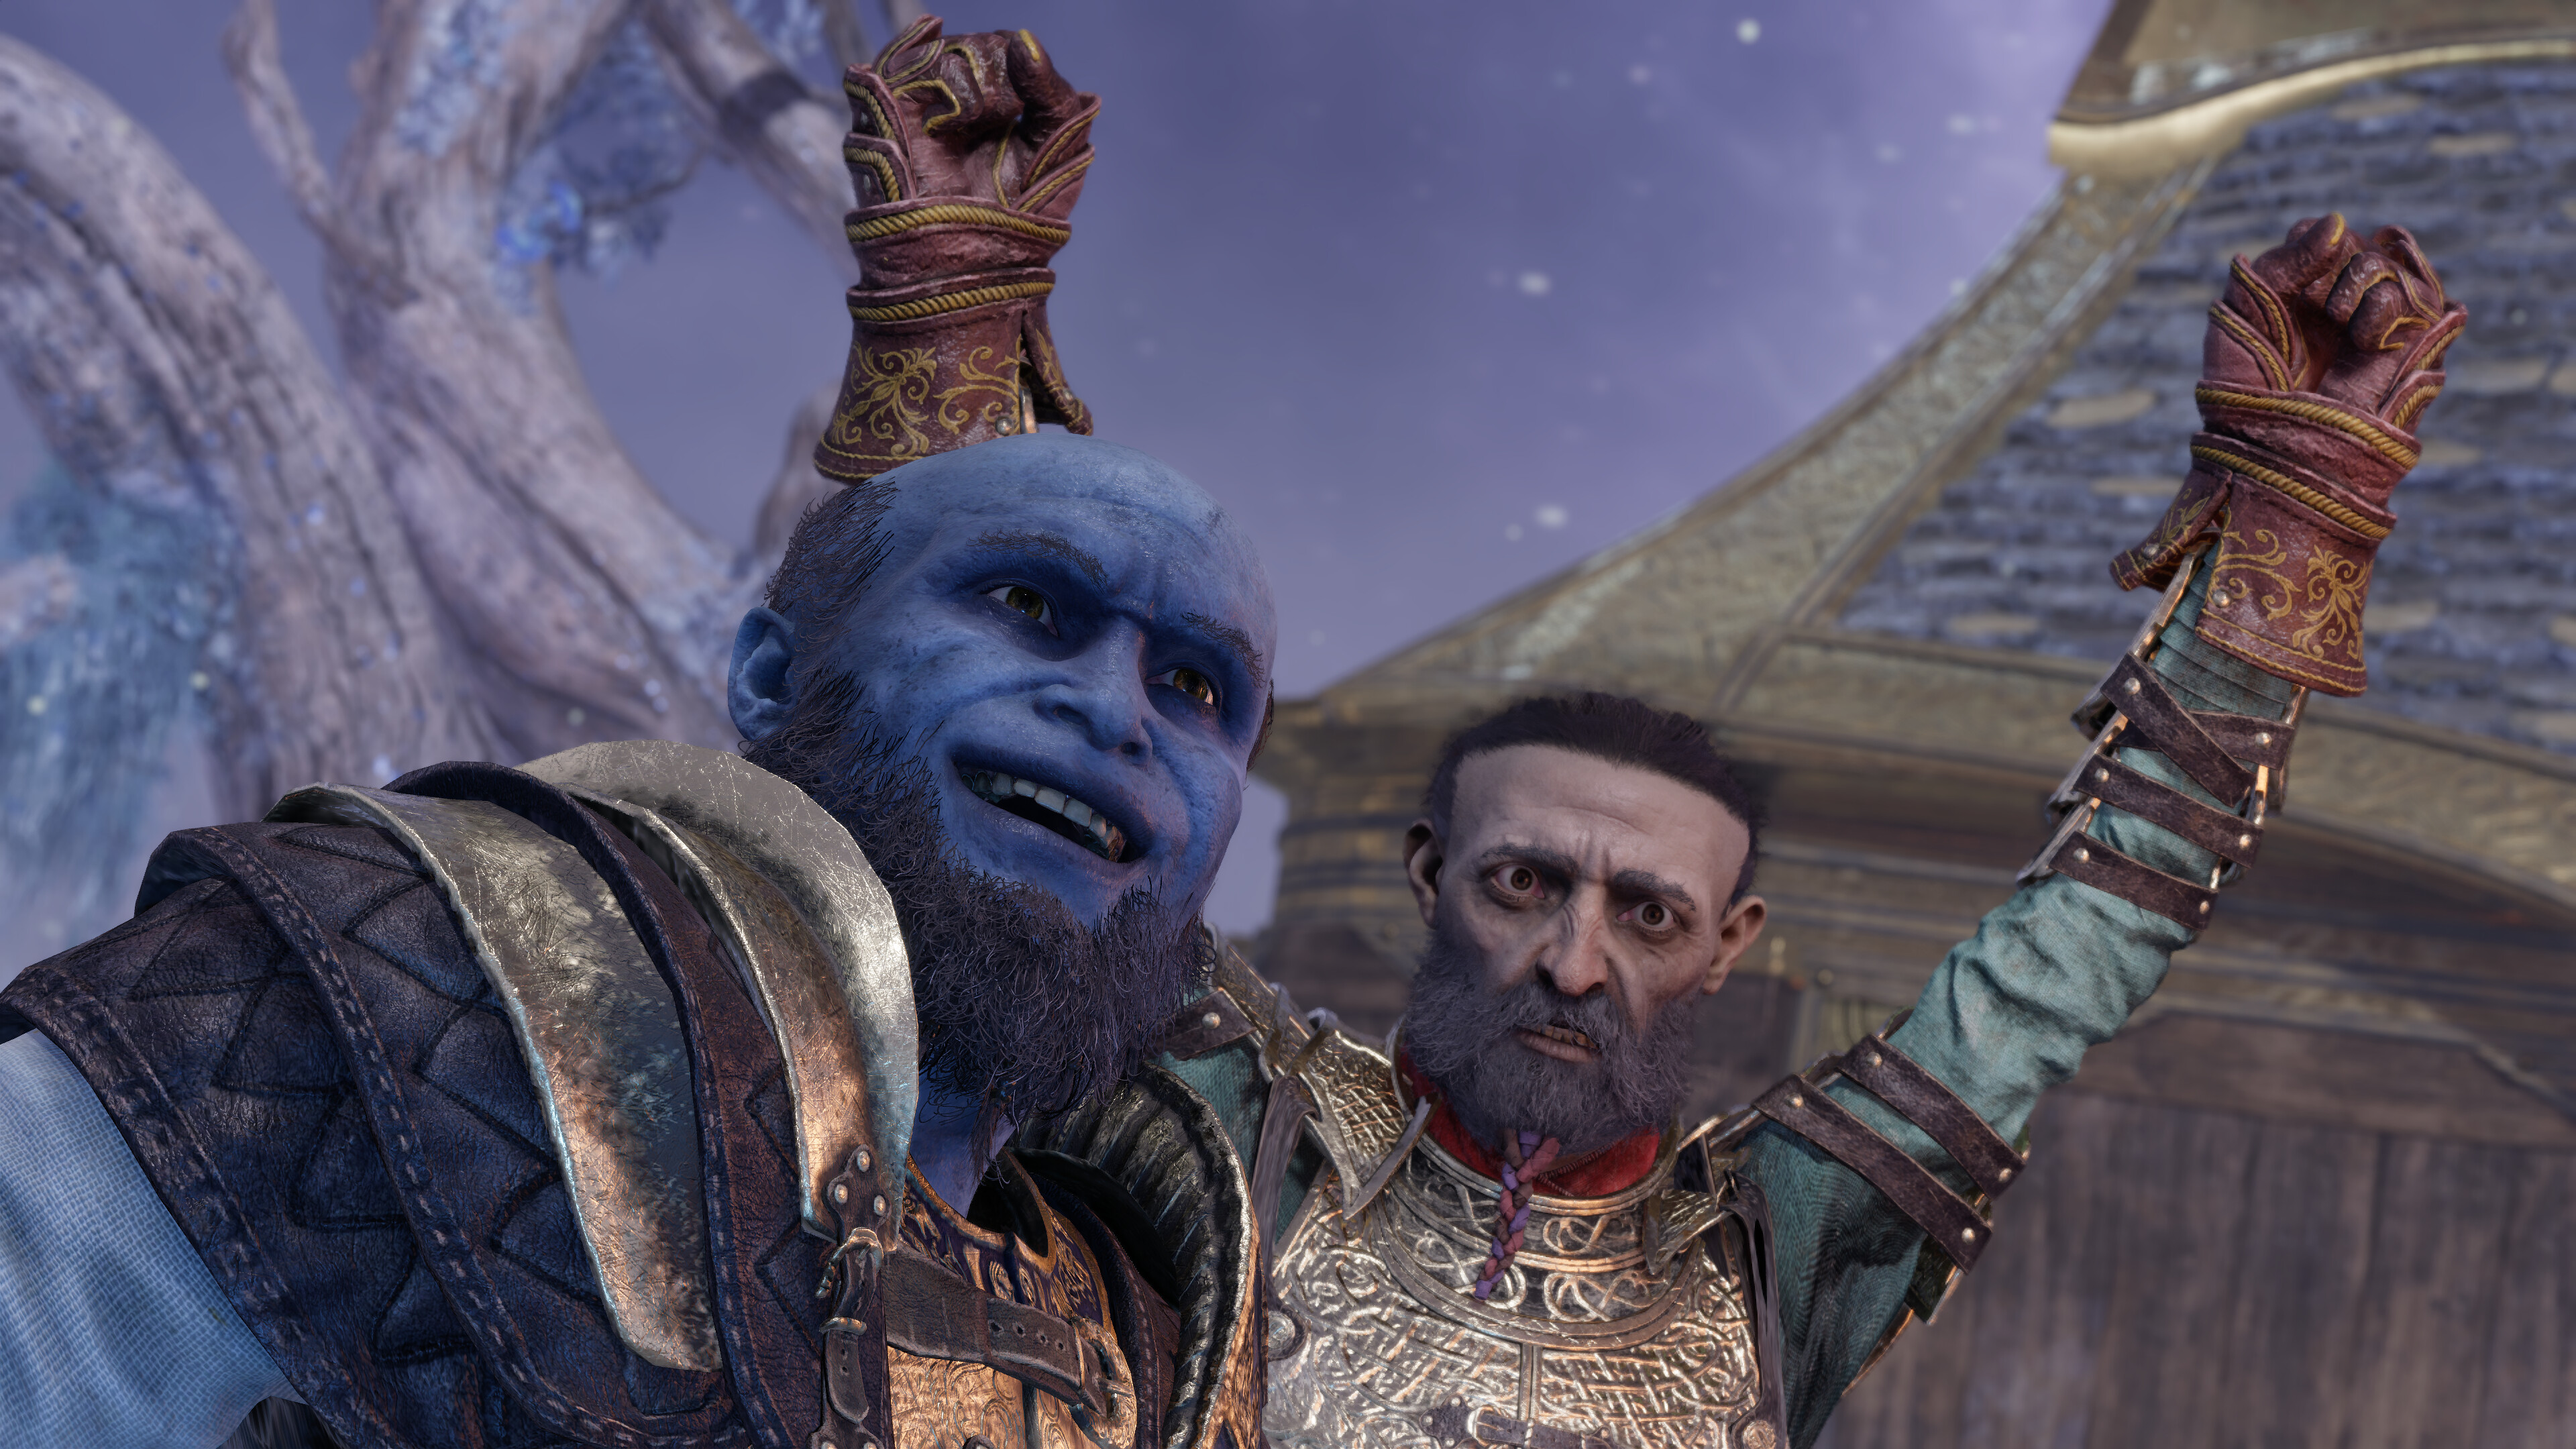
The Video Game Photography community is ever-growing! Every time a new game comes out with a photo mode, more and more people from all over the world join the fun. This can feel quite scary and overwhelming, and you might feel lost.
Don’t worry – we have the perfect guide to get you into the community.
The first step is to have an account on your social media platform of choice: Twitter, Instagram, Reddit, TikTok, Discord, etc.
Then all you have to do is use the hashtag #VirtualPhotography and the name of the game, in this case, #GodofWarRagnarok!
Remember to tag your favourite studio and publisher accounts and your post will surely be seen by members of the community that will engage with it! See? Easy.
—-
God of War Ragnarök is out now on PS5 and PS4.





Comments are closed.
4 Comments
Loading More Comments