


Examples and suggestions to get you started.
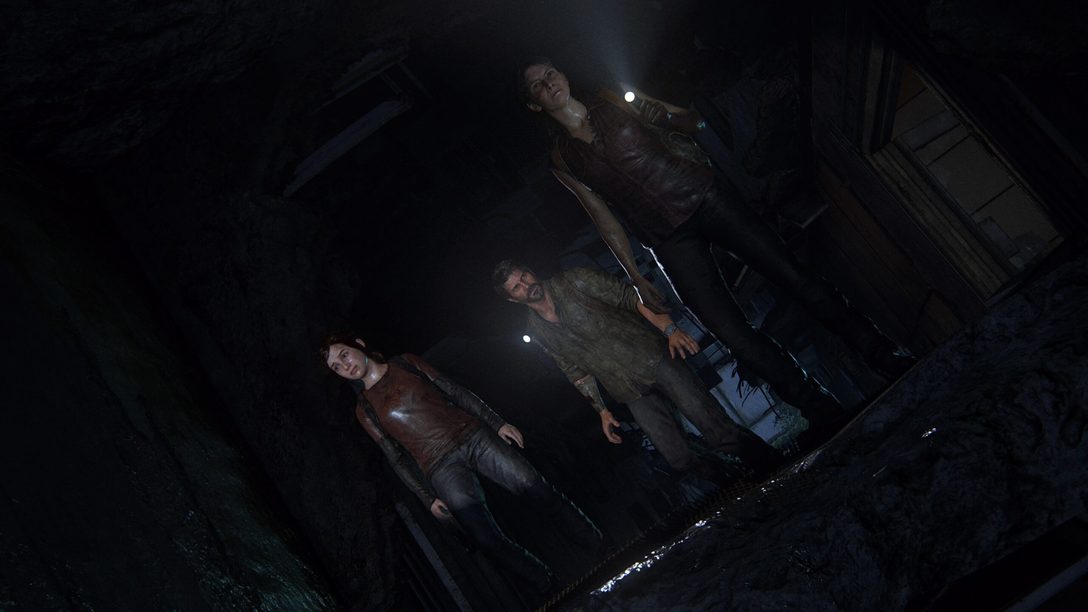
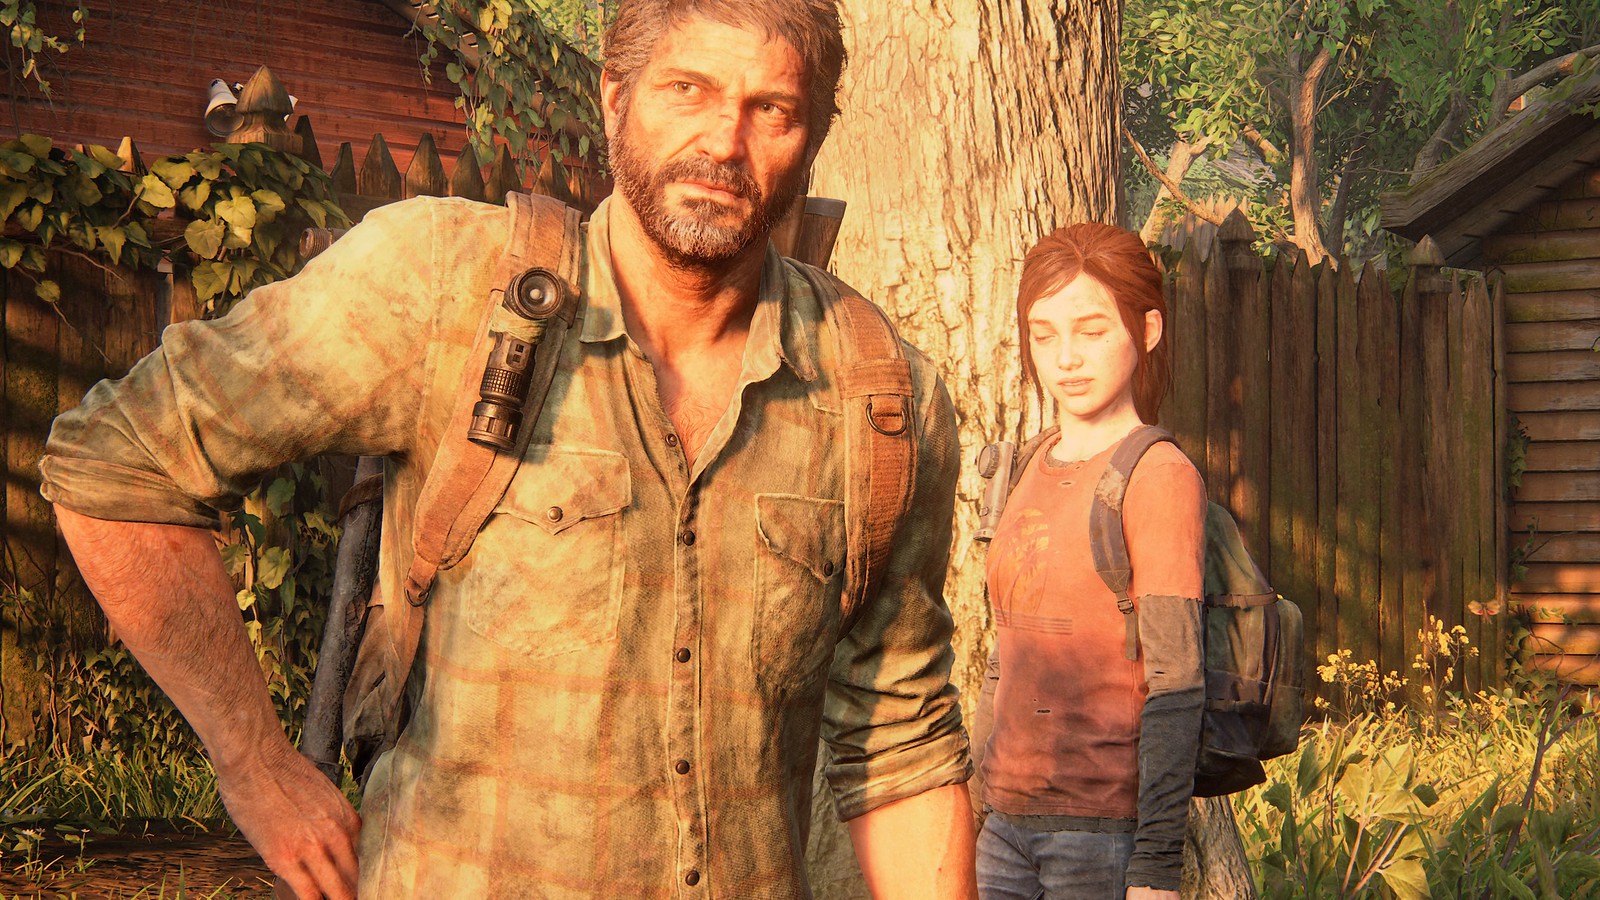
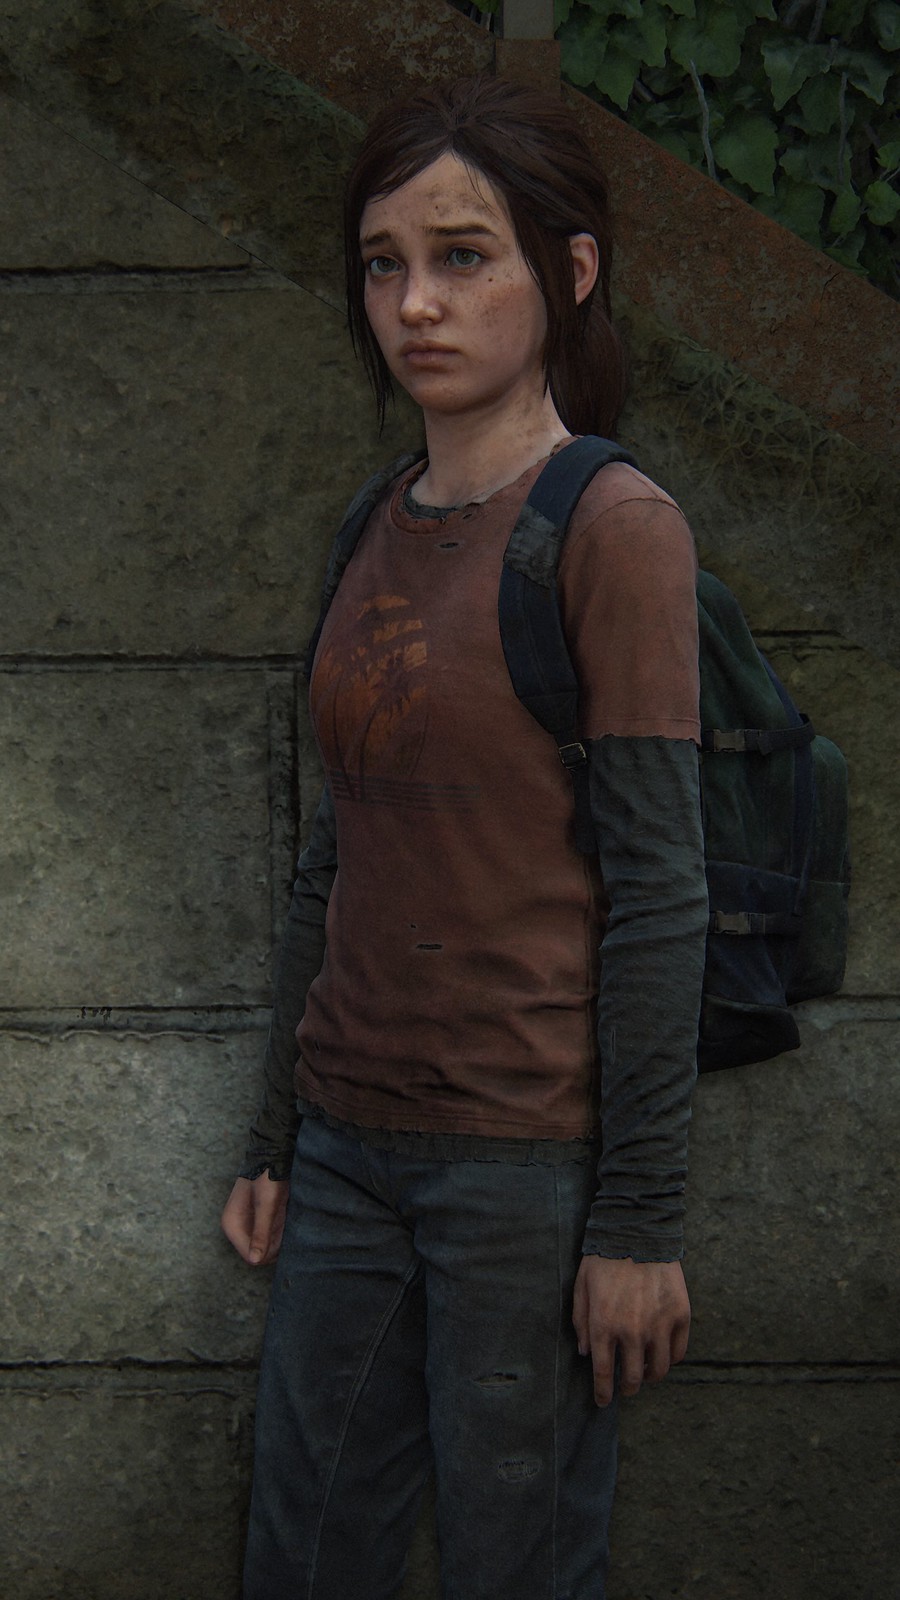
Joel and Ellie’s unforgettable journey comes to PC when The Last of Us Part I hits PC on March 28, 2023. Like any memorable cross-country trip, snapping breathtaking photos is one of the best ways to capture the moment. Luckily, The Last of Us Part I comes stocked with the robust Photo Mode suite that unleashed players’ creativity when it first launched on the PlayStation 5 console. Read on for a primer on snapping your way from the Boston QZ to Salt Lake City.
PC Features
Before we dive in, a refresher on some key features in the PC release of The Last of Us Part I.
● 4K resolution*
● Adjustable Texture Quality, Shadows, Reflections, Ambient Occlusion, and more.
● 3D audio support
● DualSense controller support using a wired connection, complete with immersive haptics and adaptive trigger features
● Ultra-Wide Monitor Support for both 21:9 Ultrawide and 32:9 Super Ultrawide aspect ratios
● Dive into even more PC feature details in this article from Naughty Dog
You can pre-purchase the standard edition of the game now on Steam and Epic Games Store. The physical Firefly Edition is available for in the U.S., U.K., France, Germany, Belgium, Netherlands, and Luxembourg at direct.playstation.com – includes a SteelBook, physical copies of The Last of Us: American Dreams comics, and more.
*Compatible PC, graphics card, and 4K display device required.
Diving into Photo Mode
Photo Mode is fun to experiment with, and there’s a range of tools to tinker with. Below not only highlights some of the great Photo Mode options in the game but also shares examples to help generate ideas and approaches you could apply to your own shots.
(Note: The Photo Mode examples in this blog captured from the PS5 version of The Last of Us Part I)
Shortcut
In the game’s Options menu, you’ll find an option to activate a Photo Mode shortcut, letting you press L3 and R3 together on DualSense controller (P on keyboard) to freeze the scene. It’s quicker than having your thumb stray to the Options button and potentially miss a great composition.
Frame Forward
A new addition: located in the first tab of the Photo Mode menu, each button press will move the on-screen action forward a single frame. It’s useful if you’ve caught a person mid-blink in a group portrait or to nudge a character’s pose to be that bit more dynamic during an action shot.
Here, Ellie’s eyes are shut.
A few taps of Frame Forward corrects the issue.
Controllable Lighting
Also, a new inclusion is the multiple lighting options. Head over to the far-right tab on the Photo Mode menu. You’ve the option of spawning up to three dynamic light sources. All are locked to orbit your playable character, but each can be manipulated independently. Change their position with the left stick, use the menu to alter their distance from the character, change the strength and size of the beam, alter the beam’s color, and more.
They’re a versatile tool. Use them to subtly add detail to a specific moment, use one to balance out the natural light of an exterior shot by illuminating your character’s front, or mask a trio as ambient light in dark environments to keep your characters out of shadow. Alternatively, dictate mood through creative use of light position and color use.
One tip specific to those shooting close-ups: keep your Field of View wide (Camera tab, far left) while setting up lights. This allows you to see exactly where your chosen virtual light rigs are on screen, making them easier to position.

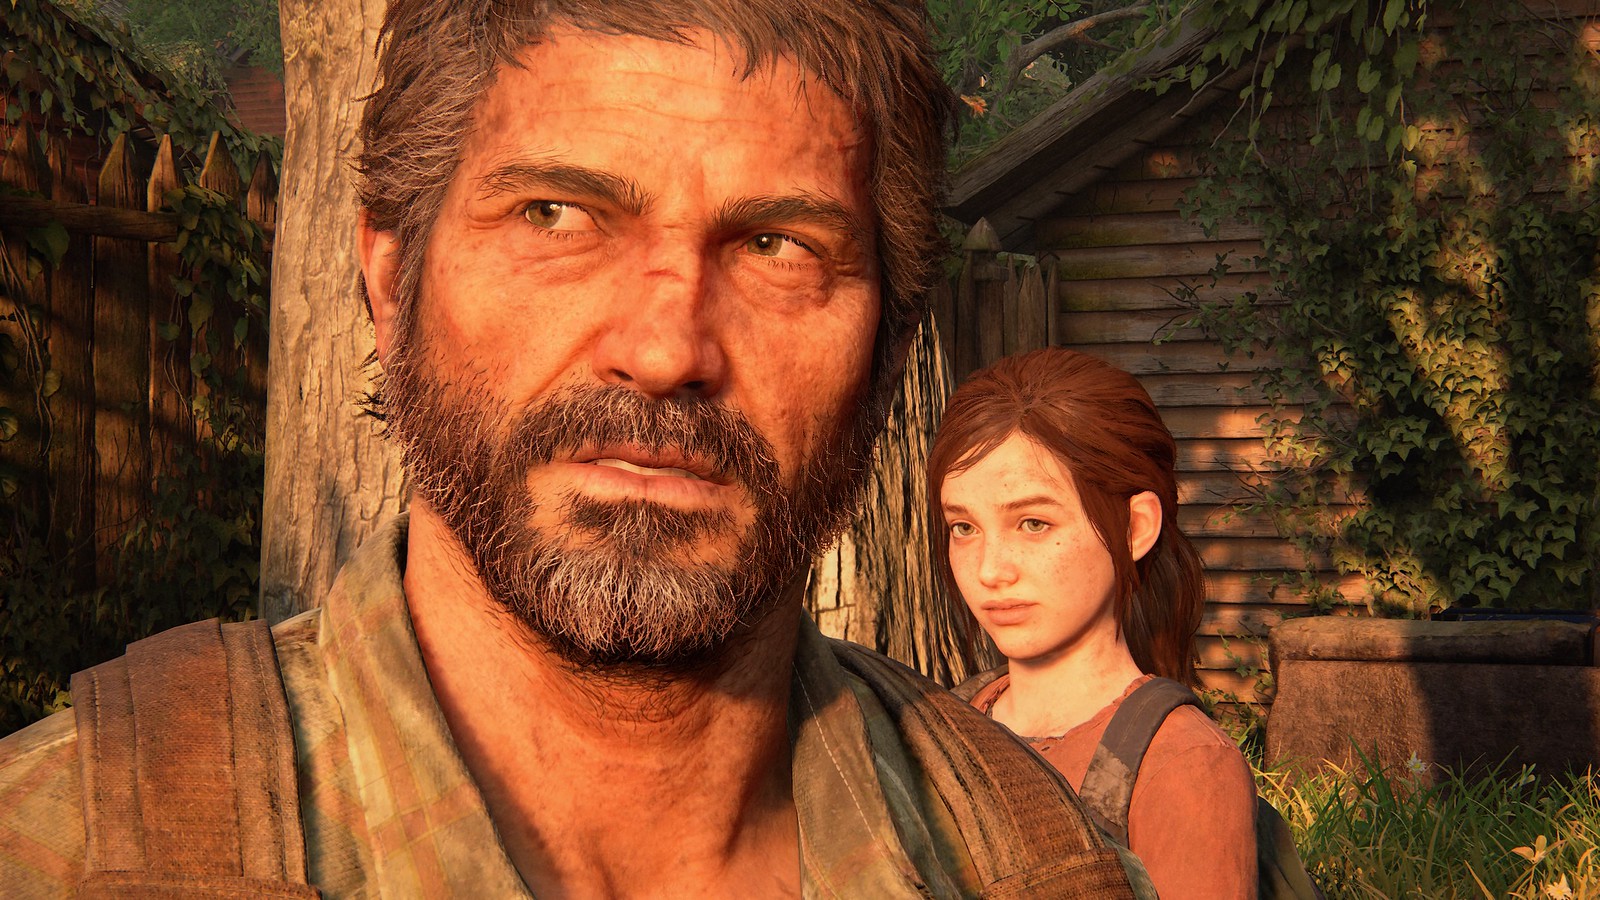
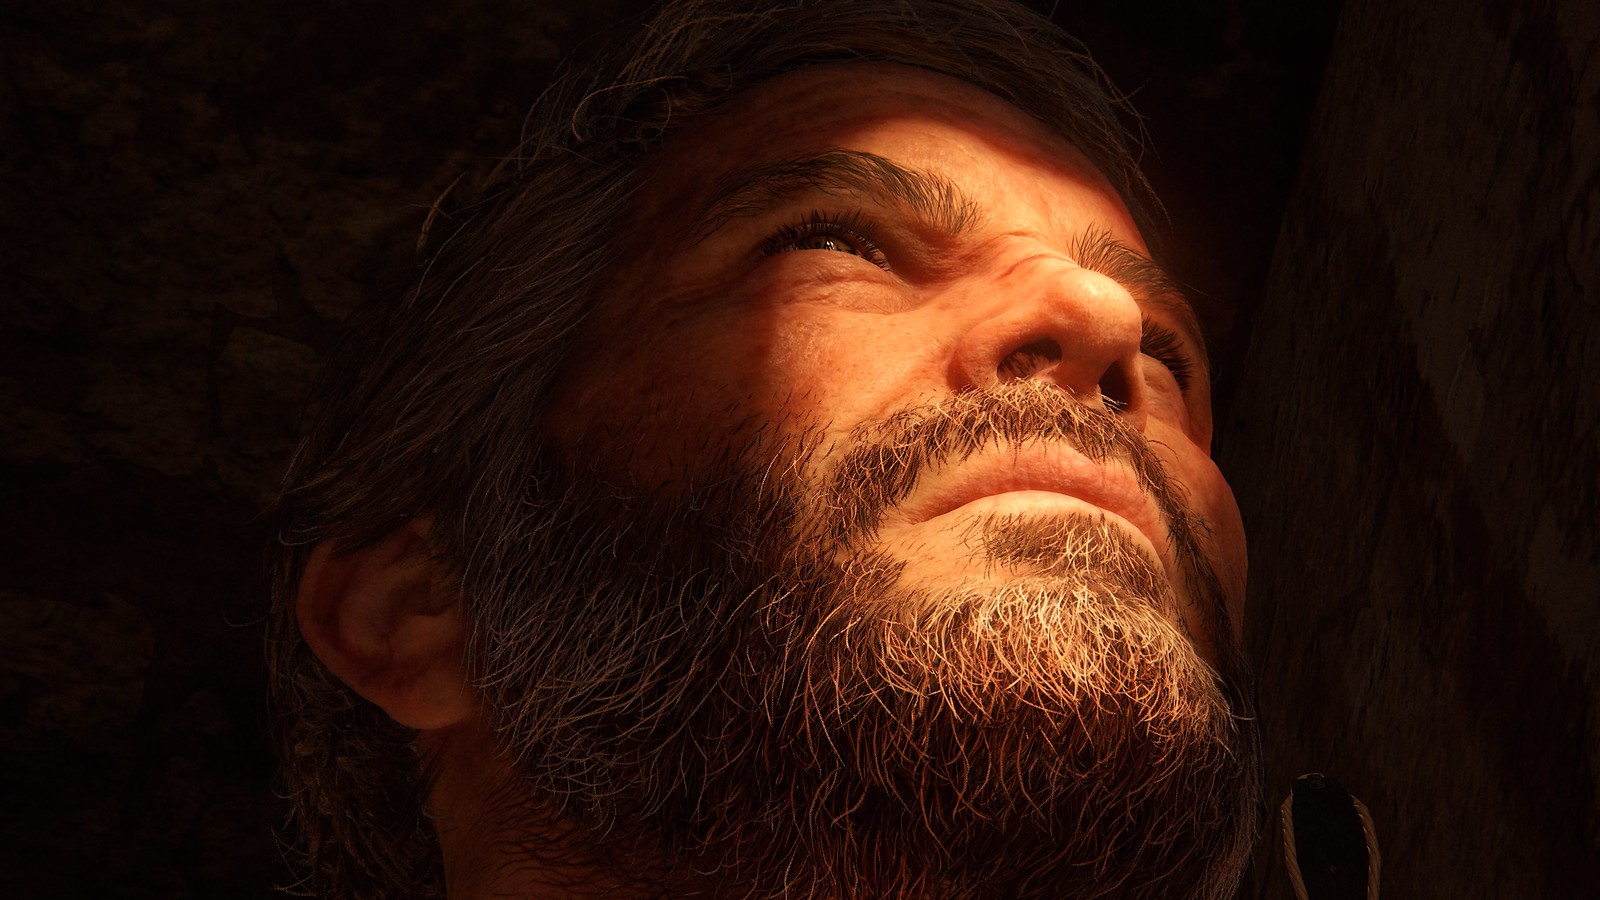
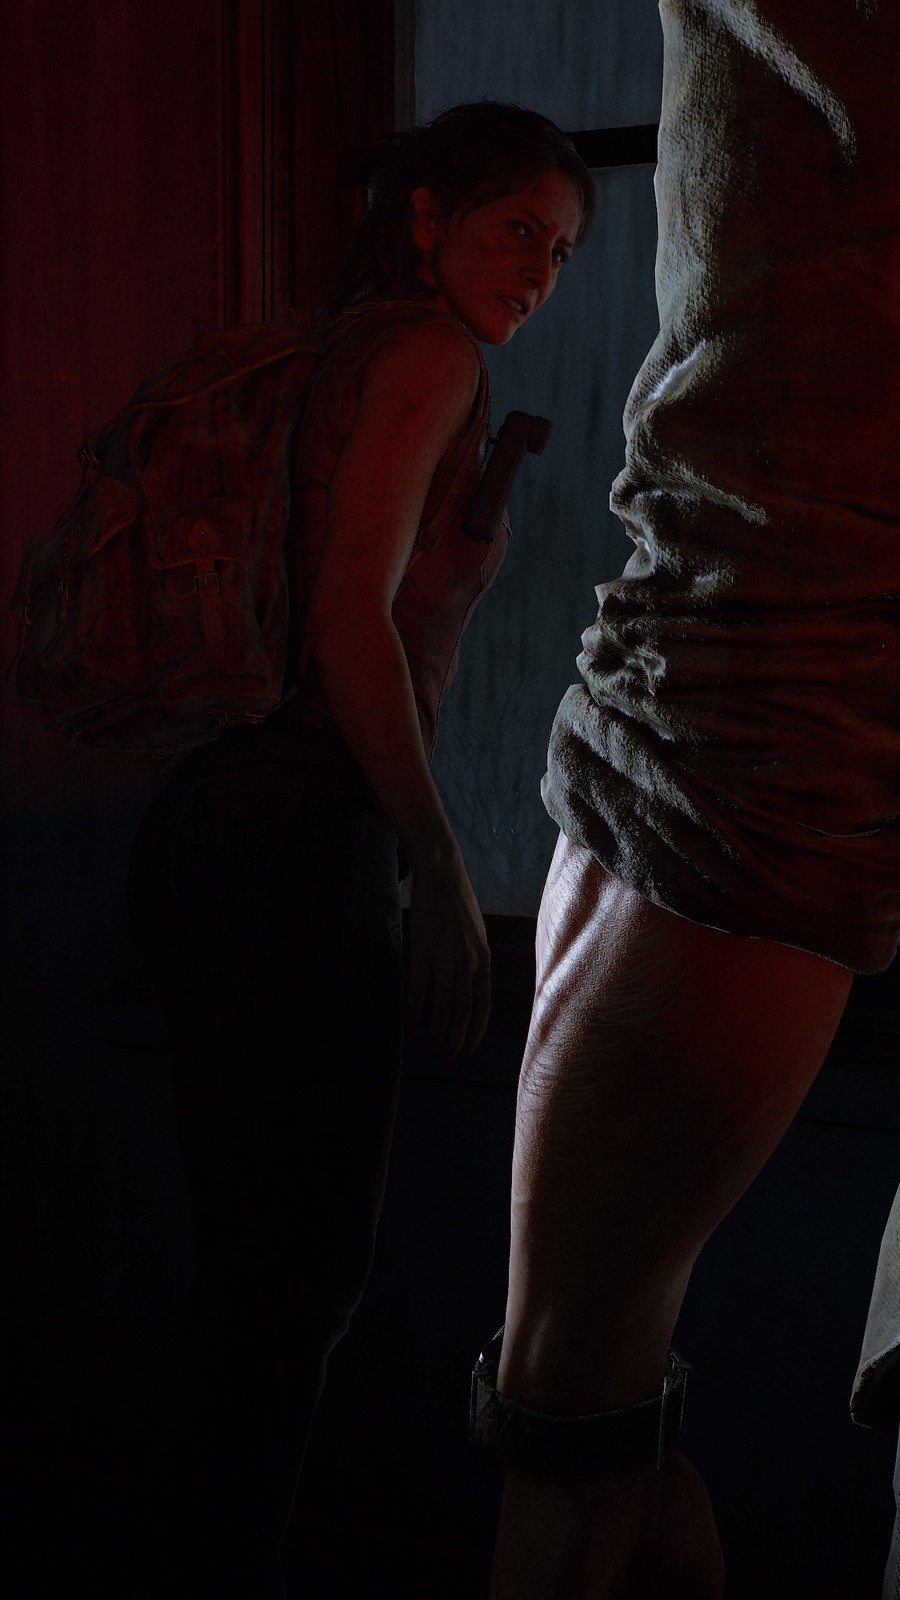
With the sun behind him, we lose a lot of detail on Joel’s front. I put a single light set to a soft glow just out of shot, pointing upwards towards him. Now he pops against the darker background.

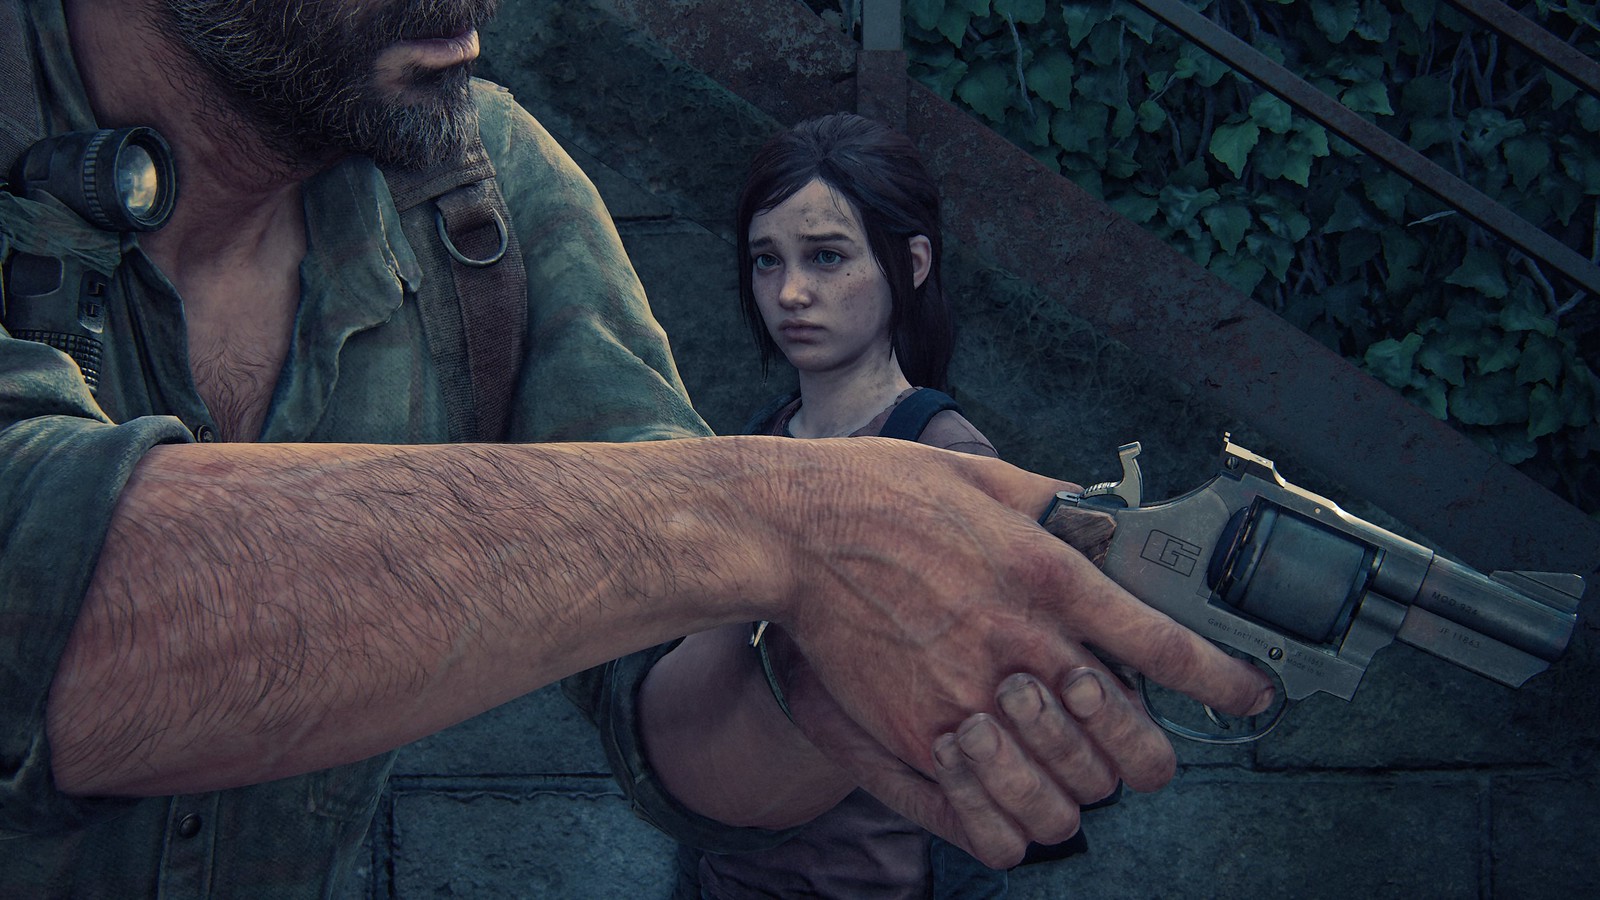
I put a single white light with a narrow beam at a 45-degree angle at Joel’s right, softening its strength so I didn’t lose facial detail in the shadows. I also darkened the overall brightness of the scene and switched to a narrow field of focus, so the background was blurry and the focus was on Joel. Small detail that adds to the shot: his eyes reflect the light. Tip for portraits: move the camera to where the model’s eyeline is.
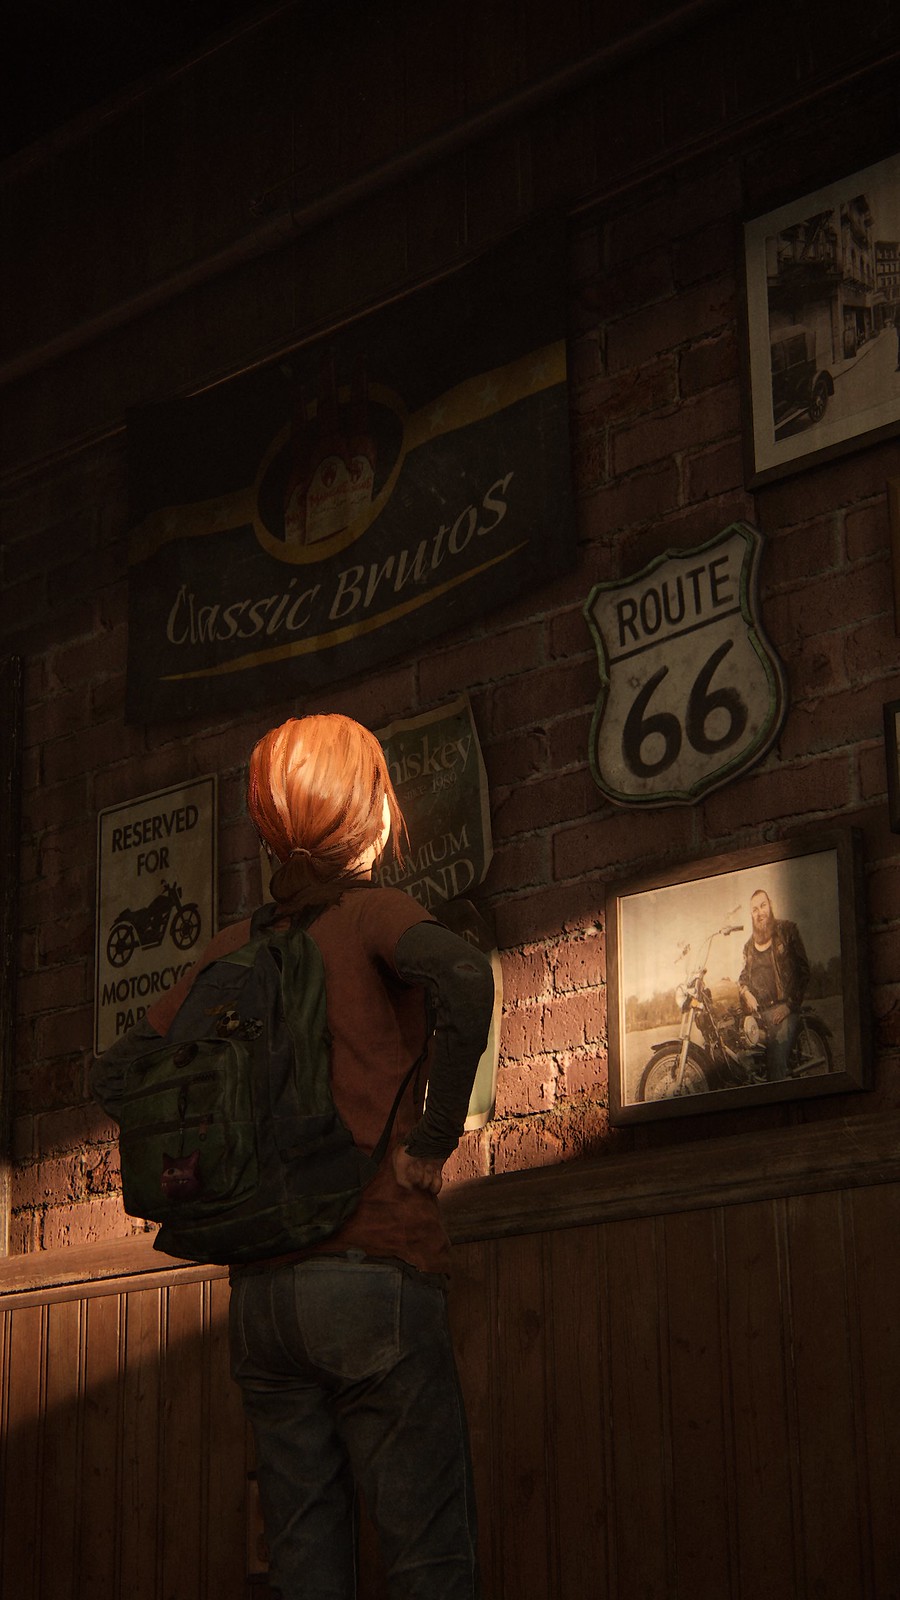
Every light allows you to choose whether it casts shadows based on objects within the game world. Here, there’s a single light with a wide beam set to “warm interior” light preset behind Joel. While ‘off-camera’, his presence is felt by the shadow cast against the wall behind Ellie.
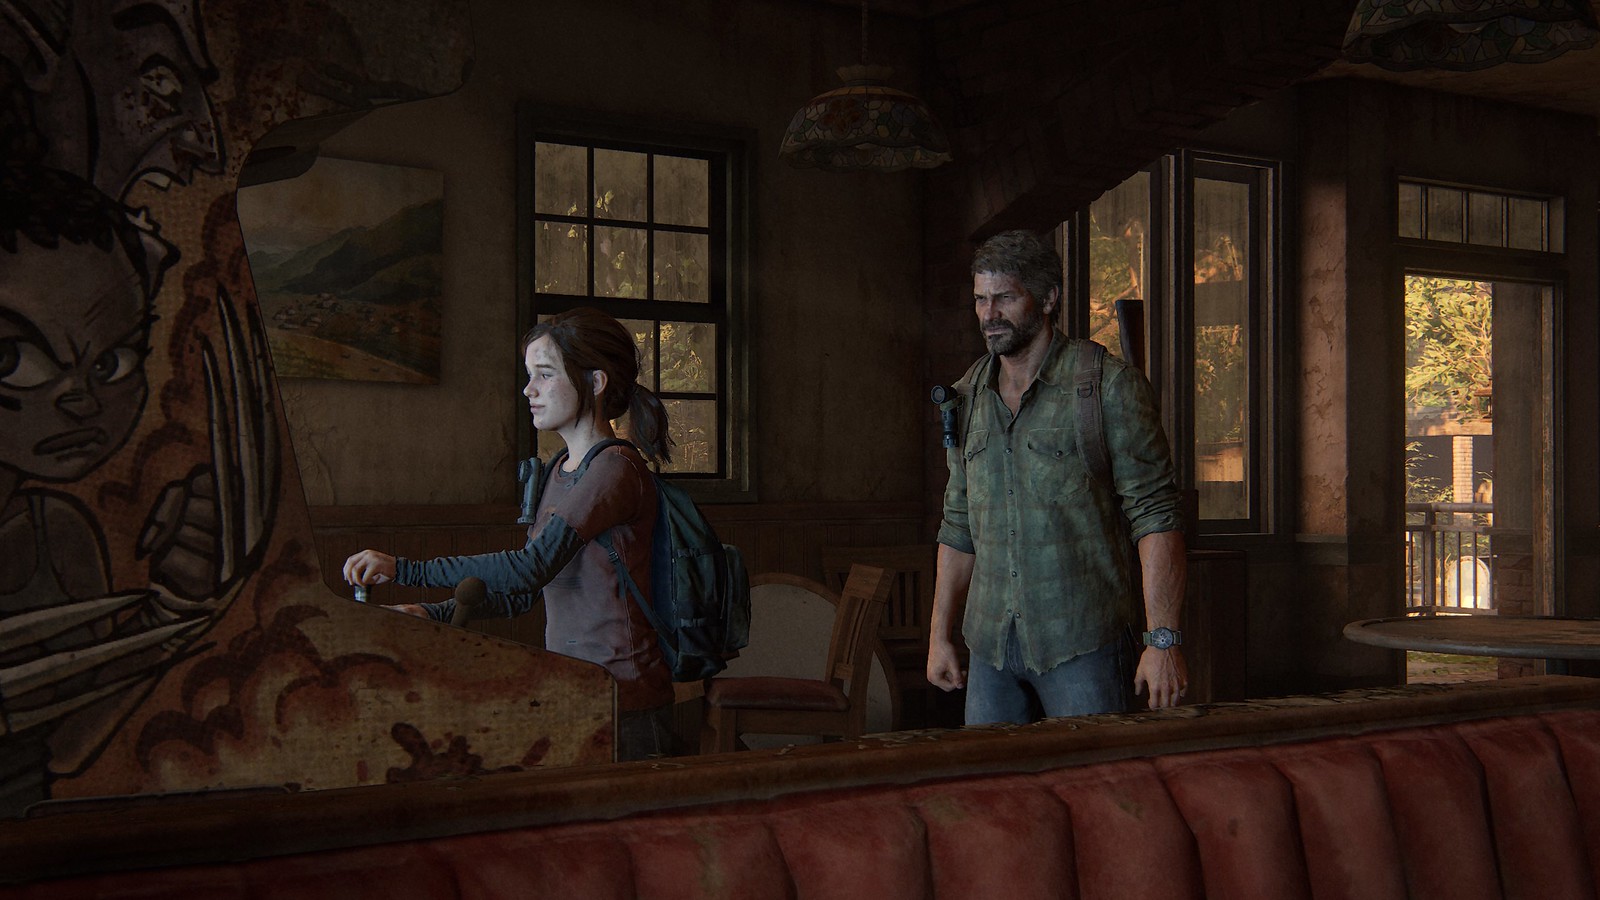
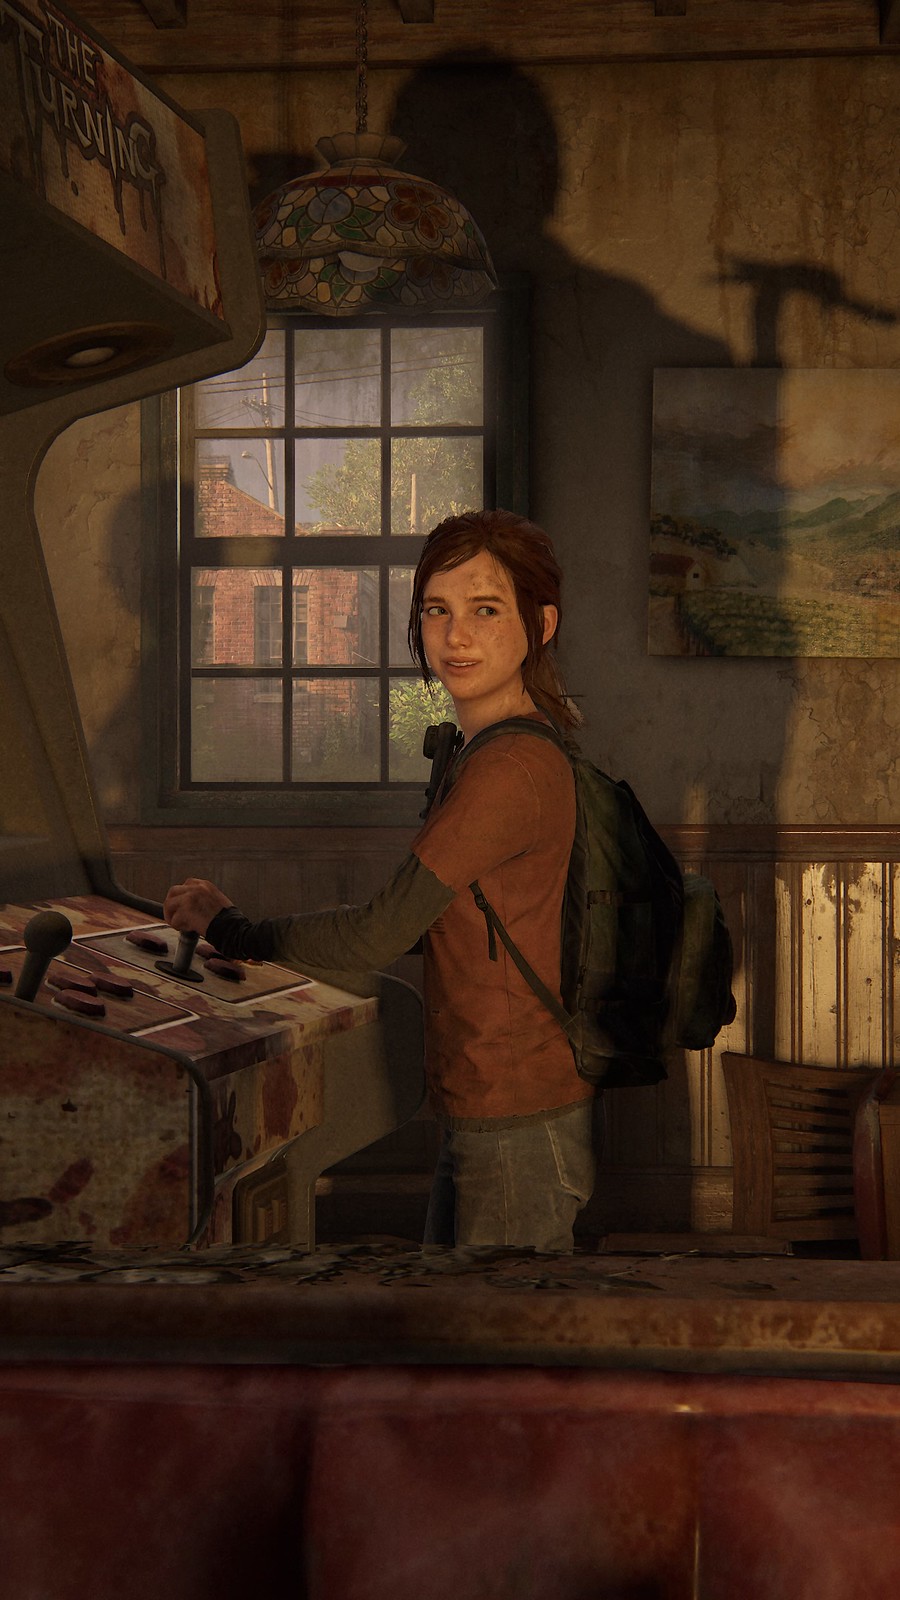
An alternative approach to the same scene using creative lighting placed just in front of the arcade cabinet to emulate the glow of its screen, suggesting Ellie finally got her wish to play the game.
Natural light
Remember to experiment with natural light as well! Sunlight shimmering through trees or piercing through doorways and windows just require positioning of your characters and framing to capture a scene, as the two shots below showcase.
Reset, rethink, reframe
After you’ve spotted, composed, and captured your perfect shot, linger. Cycle through the tabs pressing Triangle on DualSense controller (R on keyboard) on each to reset to defaults then start panning the camera around again. You might discover a better composition for your original shot or see an additional detail originally off-camera for an entirely separate photo.

These three shots are captured in the same moment. I simply removed the Joel character model (“Hide Characters” option) and switched to Portrait Mode (change “Roll” to 90) and pulled the camera closer to Ellie for the second photo. Before exiting, I swept the camera around and spotted Tess rubbing her eyes. A quick Landscape and color preset change later, I had a third shot.
Wide shots and close-ups
Finding the right composition sometimes requires a different perspective. Pull L2 to zoom the camera in or R2 to zoom it out on DualSense controller (Z and X on keyboard). Coupling the latter with a wide field of view can help highlight and frame characters against the desolate yet detailed landscape they journey through for exterior shots.


Framing
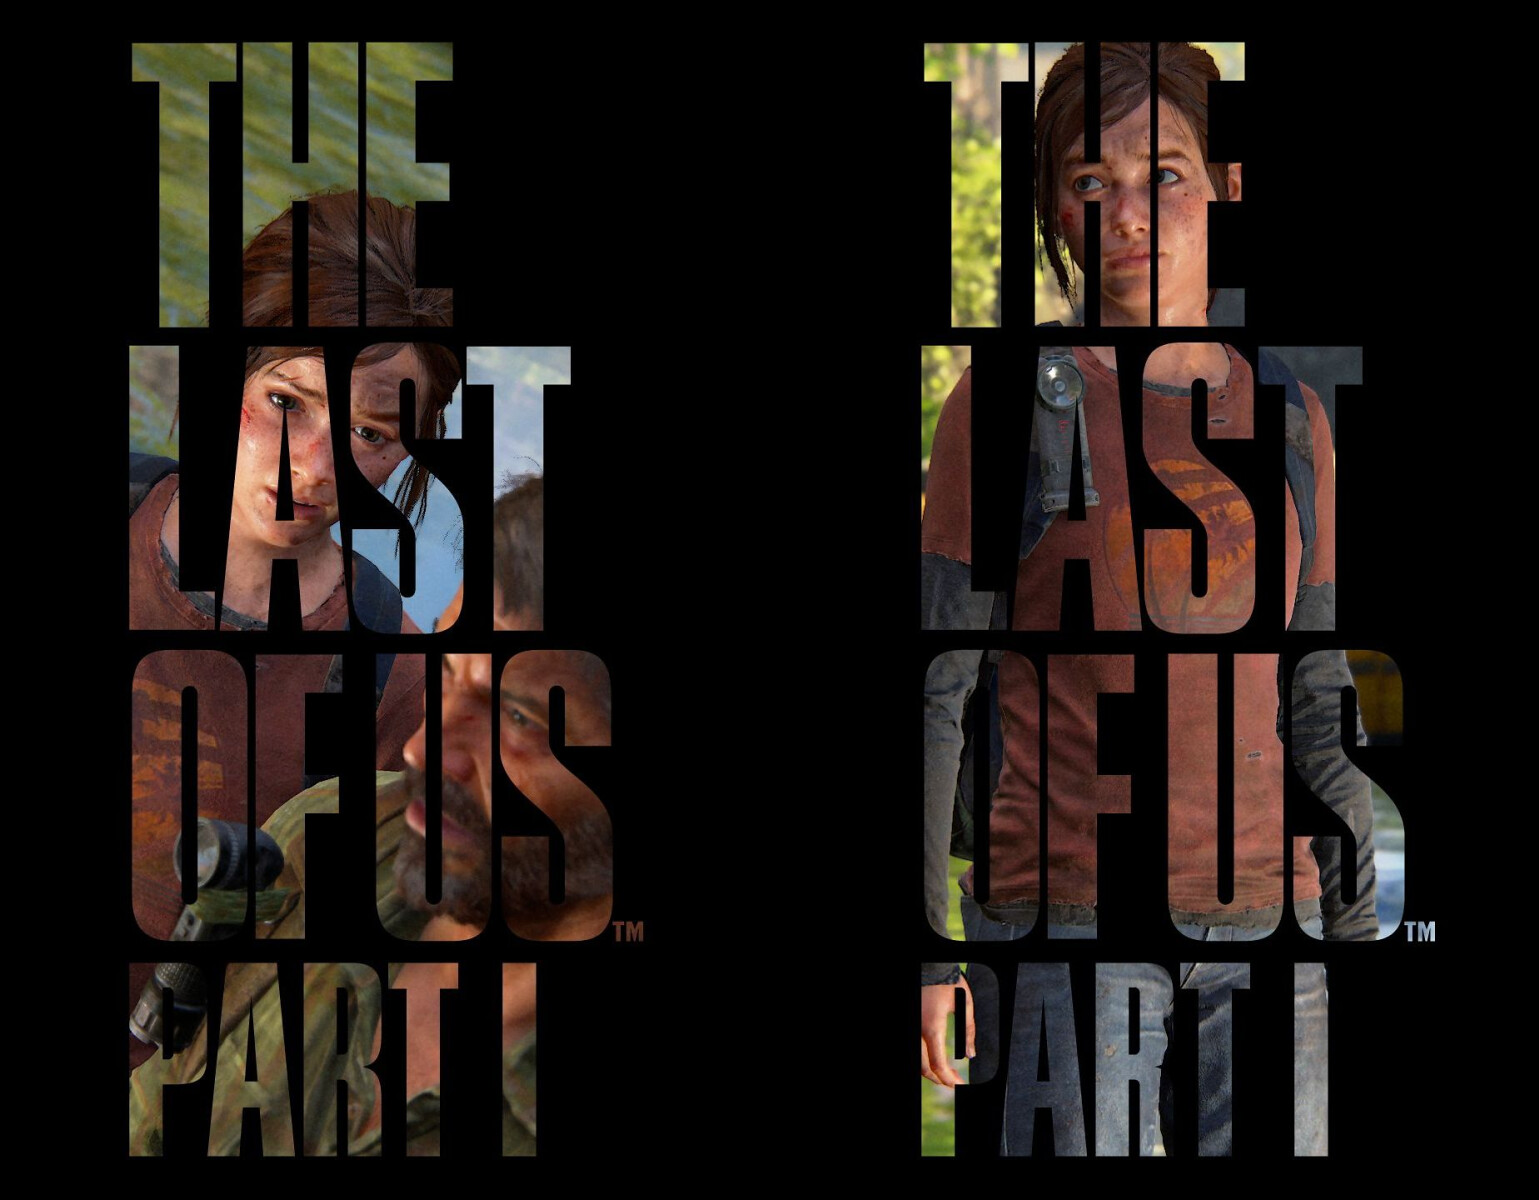
Framing doesn’t end in getting the best shot angle. Photo Mode also offers a suite of frames and logos to add to your shot prior to you exiting Photo Mode. That includes new “cut out” frames, such as the below.
Experiment
There’s always more to learn. Tinker with all the Photo Mode settings to familiarize yourself with what they can do, and you’ll gradually discover the type of shots that appeal to you. Open up your PS5 Media Gallery (C:Users%USERNAME%Saved GamesThe Last of Us Part Iscreenshots on PC) and cycle through your shots to pick the best of the bunch. From personal experience, returning to photos a day or two later may make you appreciate a photo you’d originally considered dismissing.
And don’t limit yourself to your own work: study other photographers’ creations to figure out how they’ve achieved those shots.
And most importantly: have fun!

The Last of Us Part I is currently available on PS5 console, and available on PC starting March 28, 2023.
Looking for even more insights on The Last of Us? Check out the Sony Creator to Creator video series , featuring roundtable discussions with creators and cast of The Last of Us game and HBO show, which recently concluded its first season.


Comments are closed.
5 Comments
Loading More Comments