

Creator Johan Vinet shows how he puts the “cinematic” in this cinematic platformer.
Greetings, readers of the PlayStation blog! My name is Johan Vinet, and I am the creator of Lunark, a pixel-art sci-fi action game that pays homage to the 2D cinematic platformers of the 1990s.
Cinematic platformers sought to immerse players by depicting realistic, methodical character mobility governed by the laws of physics. Classics like Jordan Mechner’s Prince of Persia, Eric Chahi’s Out of this World, and Paul Cuisset’s Flashback achieved this realism through detailed and lifelike animations, as well as rotoscoped cutscenes that rewarded players by punctuating key gameplay moments while also creating a unique and recognizable visual style.
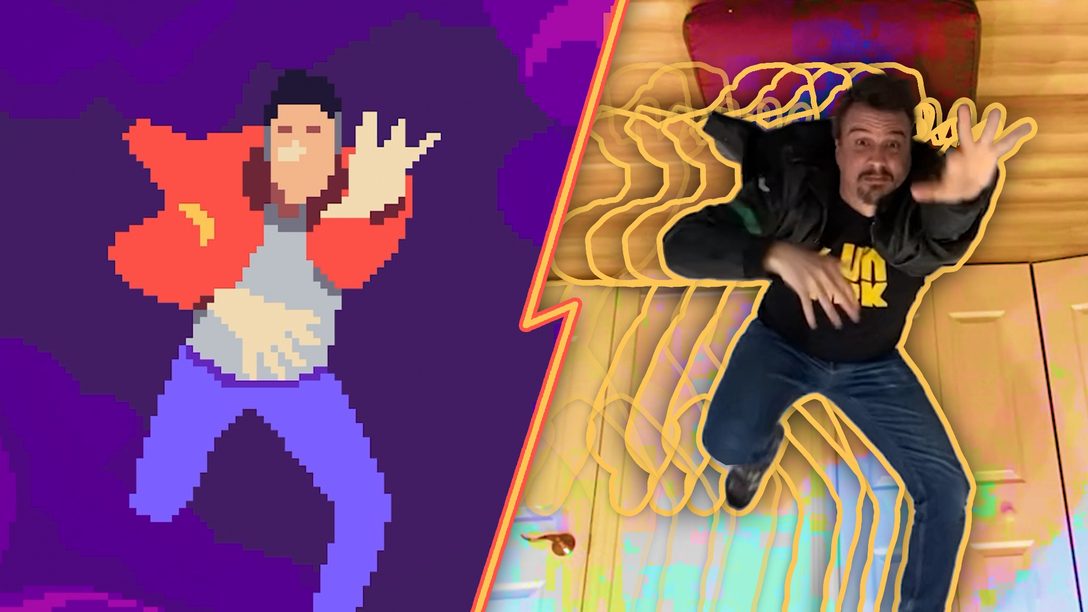
Rotoscoping is a technique that was used to create realistic animations before motion capture, which traditionally involved painstakingly tracing film footage frame-by-frame. Fortunately, modern technology has made rotoscoping much more accessible. With a touch of creativity and the aid of a smartphone and graphics tablet, I was able to use this “lost art” to help bring Lunark to life.
Here is a breakdown of my workflow for producing the cutscenes of Lunark.
Step 1: Storyboarding
Creating a storyboard is the first step. This determines the overall look and feel of the cutscene, including characters, camera angles, and key actions.
Step 2: Planning
After storyboarding, I move on to the planning stage, where I choose filming locations (most of them being my home), props, and determine whether 3D modeling is necessary. In one scene, for instance, I found that it was quicker and yielded better results to make a “crystal” out of cardboard (and covering it with transparent adhesive to make it reflective) rather than modeling it in 3D!
Step 3: Filming
Most of the cutscenes in Lunark involving rotoscoping are still shots and do not require sound recording. It was just me, equipped with a tripod and my smartphone to film myself acting out the scene, preferably wearing clothes that matched those of the main character, Leo. I even wrapped some duct tape on my leather sleeves to simulate the yellow stripes on Leo’s jacket, so I could use it as a visual cue when tracing over the footage later on. (This turned out to be a bad idea, as it totally ruined my sleeves!)
Doing the job with the means at hand being my motto, I also jumped from my dryer for the low-angle shot in which Leo smashes the grill of an air vent to get out of a duct, and filmed myself at my kids’ playground jumping on the monkey bars to mimic escaping a building via zipline.
Step 4: Footage Clean Up
After filming, I transfer the video files to my computer, where I use Photoshop or After Effects to select the best shot, crop the video, and perform colorimetric retouching if I need to make the subject pop a bit more. During this phase, I can add effects like a dolly zoom or simulate character movement. This is also when I reduce the number of frames to 24 per second to give the final result a cinematic feel (and save me a huge amount of work). The video will also be resized to the final resolution of the game.
Step 5: Painting Over Frame by Frame
This is where the tedious part begins! Using Photoshop, I trace and paint over the character in the video frames, adhering to my predetermined color palette.
Step 6: Drawing Scenery
This step can take many forms. If the scene is still (like when you see Leo’s hand slowly reaching for this mysterious ancient engraving), I draw the background directly in pixel art. If it is animated or complex (such as the scene where the camera quickly shows a detail on Leo’s ship using a “dolly zoom,” a cinematic effect made famous by directors like Alfred Hitchcock), I may use 3D software to model and render objects or buildings, which I will then use as a model to draw over or clean up to match the visual style.
Step 7: Audio
While most of the cutscenes use the same musical jingle, some of them require additional custom work, so I’ll produce sound effects or longer music to accompany the action.
Step 8: Integration
Finally, the cutscene is exported and integrated into the game engine (in this case, GameMaker) with the right triggers. When the player picks up any item like a shield energy core, the game displays a close-up shot of the action, or, when you complete a main objective, a longer cutscene plays that ties the different levels together while giving the game a cinematic flair.
Thank you all for reading this article! I hope that the result will satisfy both cinematic platformer purists and new players who will discover the genre with Lunark, published by WayForward and set to arrive on PlayStation 4 and PlayStation 5 on March 30.


Comments are closed.
10 Comments
Loading More Comments