
Improve your chances of escaping the outbreak with tips on ammo conservation, self-defense, maps, and more.
Happy launch day everyone. Whether it’s your first time in Raccoon City or a return visit to Arklay County, there are plenty of surprises in store in Capcom’s superlative PS4 remake of its 1998 classic.
To prepare you for your return to the world of survival horror, we’ve pulled together this handy guide, pointing out some of smaller but important details drawn up from our experiences on the streets of Raccoon City ahead of launch. There are very light spoilers ahead, and all are centered around the gameplay mechanics, either new or revamped for this release.
Section 1: Surviving the hordes
Choose your shots
While ammo is more plentiful than the original game, it’s not limitless, so it’s still advisable to conserve bullets. Dodge where you can, make sure you’re aiming at the right spots when you can’t (see the next two sections for more).
When you get the three-shot upgrade for Leon’s Matilda handgun, you can still fire a single round by lightly pressing R2, pulling fully down on the trigger for a three-shot. (In the original version, you had to switch between firing types in your inventory.)
It’s okay to run and even better to sneak
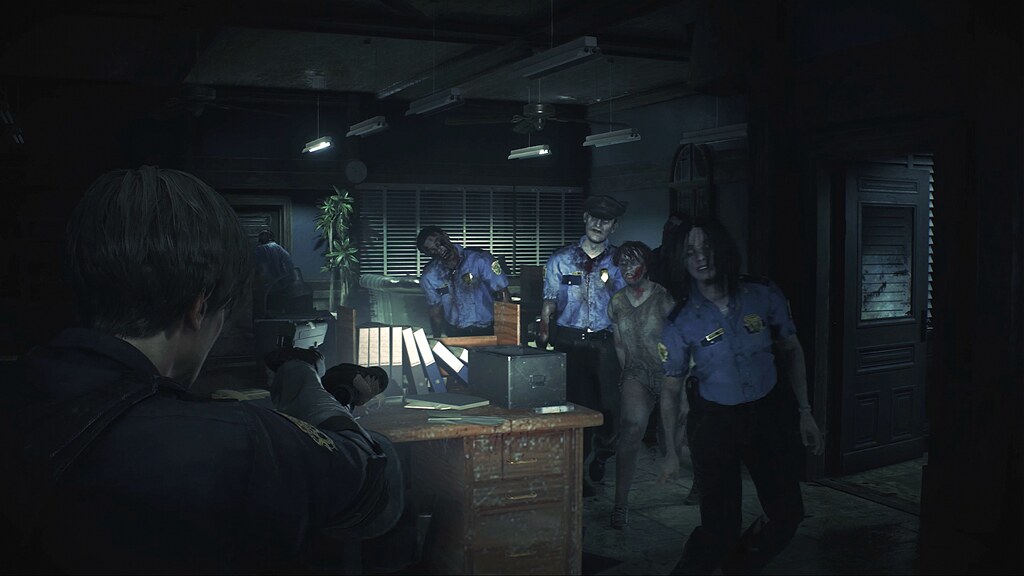
With practice, you can weave round zombies. Most of R.P.D’s corridors and rooms are wide enough to let you stay out of arm’s reach of the undead. Some zombies are quicker to react than others though: if you can, run past on the opposite side they’re facing.
Aside from shuffling after you if you’re in their line of sight, zombies will be alerted to loud noises nearby. So, sneak up behind unaware undead or try and ghost past them entirely and avoid creating a dangerous congregation of ghouls. Lightly press the left stick to sneak: if you can’t hear your footfalls, neither can they. Practice this, and practice early: you’ll need it to survive enemies with more sensitive hearing later.
Remember to dismember
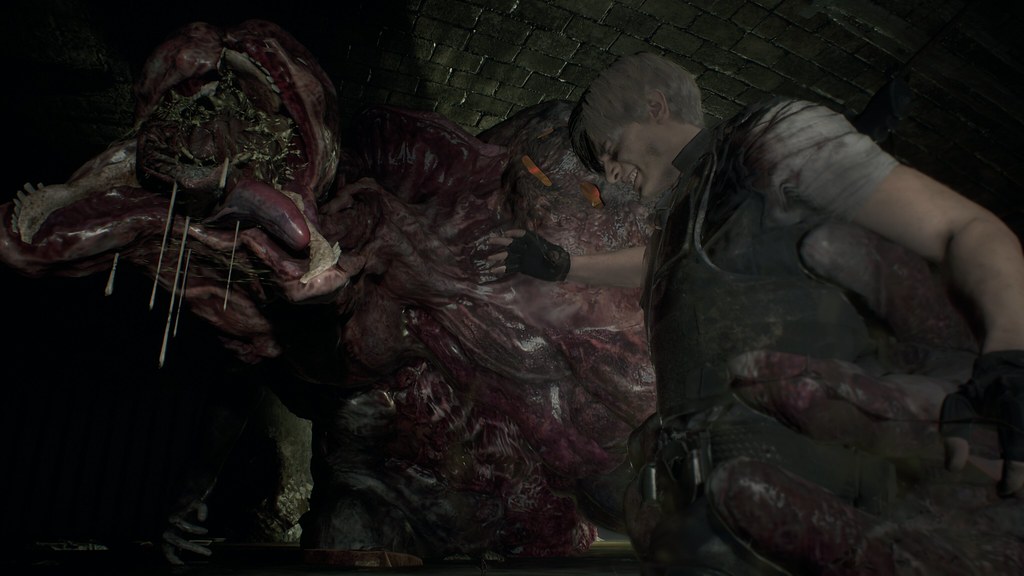
One creative way to save ammunition is to cripple your enemies by hitting them where it hurts. Put a few well aimed shots into a zombie’s knee-caps and they’ll no longer be able to stand, blow off their arms and they’ll no longer be able to break down doors, or if you’ve got some heftier firepower – a pump-action shotgun, say – then aim for the mid-section to blow them clean in half.
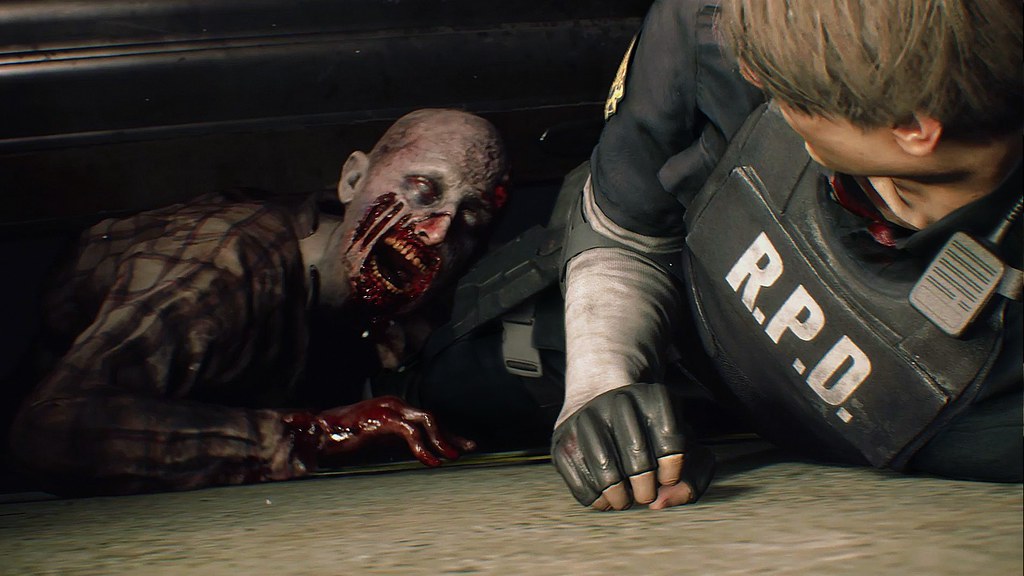
The results are often messy and sometimes just a little darkly comic, but don’t get complacent: even parted from both arms and legs a zombie can still sink their teeth in if you get too close.
Crowd control and equipped sub-weapons
Spoiler: you will get cornered, you will run out of ammo and you will have no way out. At times like these, wasting the precious few resources you have might be too much of a gamble. Our advice: always save a flashbang or grenade for such an emergency.
The former will dazzle your enemies (even the big ones) long enough to make a break for it. The latter will take out pretty much any smaller enemy within three or four meters. Hold onto these until you’re desperate – or if you do get grabbed, you can always jam them into a zombie’s mouth (tap L1 when prompted), stand back and await the fireworks.
Note: whatever sub-weapon you have currently equipped will be your default Hail Mary when grabbed. Knives (as long as they’re not badly damaged) can be recovered from fallen foes, but grenades are single use. Make sure not to waste one of the latter on a solitary, low-level undead – keep your knife as default. (Remember, you can press L1 and d-pad to quick equip between sub-weapons).
Choose your camera
You may notice the game’s default camera is different from the One-Shot Demo released earlier this month. Jump into the settings menu and you can change whether you want it closer to your character’s shoulder or further back to get a wider view of your surroundings.
Section 2: Exploring the world
Breaking and entering
Unlike the classic RE games, rooms are no longer isolated areas. Keep in their line of sight and zombies will follow from room to room, bursting through shut doors to find you. So if a door starts rattling, either hide or escape to another area before it opens. Stick too close to the door and you’ll get knocked back when it slams open.
As the above suggests, doors react realistically to how you open them. If you slowly lean into any unlocked door, it’ll only crack open a tad. This allows you to peek into the adjacent room. Handy if you’re entering new territory. But more importantly, you won’t alert zombies, even if they’re looking right at you.
Lastly, watch out for windows. The fragile glass panes of the Raccoon City’s colonial-era Police Department won’t take much of a pummelling. Use wooden boards to seal of these windows for good and keep the undead out of way.
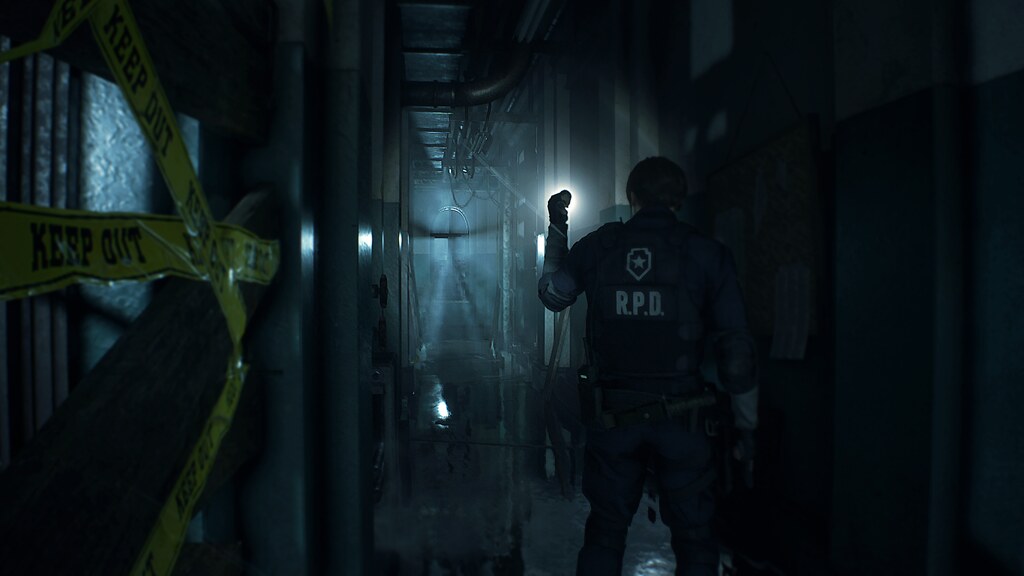
You’ll find wooden planks scattered throughout the station that are used to board up windows around the precinct. The remake’s more generous than the original, which only gave you one shoddy power cord and a tough choice between two sets of shutters to activate. That said, you should prioritise boarding up windows in the tight corridors on the west side on the building’s ground floor. For one, it’s near impossible to dodge zombies here, and secondly you’ll soon need the choice to sneak rather than run through these spots.
Down doesn’t mean dead
Real talk: telling the difference between ‘dead’ and ‘undead’ can be a tough call. There are corpses strewn all over Raccoon City: some are dead – super-dead – and they’re never coming back, but others? Well, they’ll stand up the minute you turn your back.
This goes for the ones you’ve already put down too. A grisly corpse you pumped full of lead three rooms ago might well follow you down flights of stairs and across entire halls to take a wet bite out of your while you’re busy examining a bookshelf. Treat every corpse with caution.
Checking your map
Raccoon City’s a big place. The R.P.D station alone is a multi-floor labyrinth with multiple rooms, many with more than one entrance. Make the map (pulled up with a press of the touchpad) your best friend. It will name every room, mark the location of every discovered but uncollected item, and colour any area in red if there are still secrets to find or interactions left to complete.
Most importantly, interact with any door you see (press X when prompted), even if it’s obvious you don’t have the means yet to open it. That door – and the item needed to access the room behind it – will also be marked in the map. This will remove any needless backtracking later when you’re unsure where to go.
Under lock and key-code
You’ll find a number of old-fashioned dial safes and bolted personal lockers dotted around Raccoon City. All of these can be opened and contain all kinds of interesting items, from massive ammo caches, to inventory expansions and even new parts for your favourite pea-shooter.
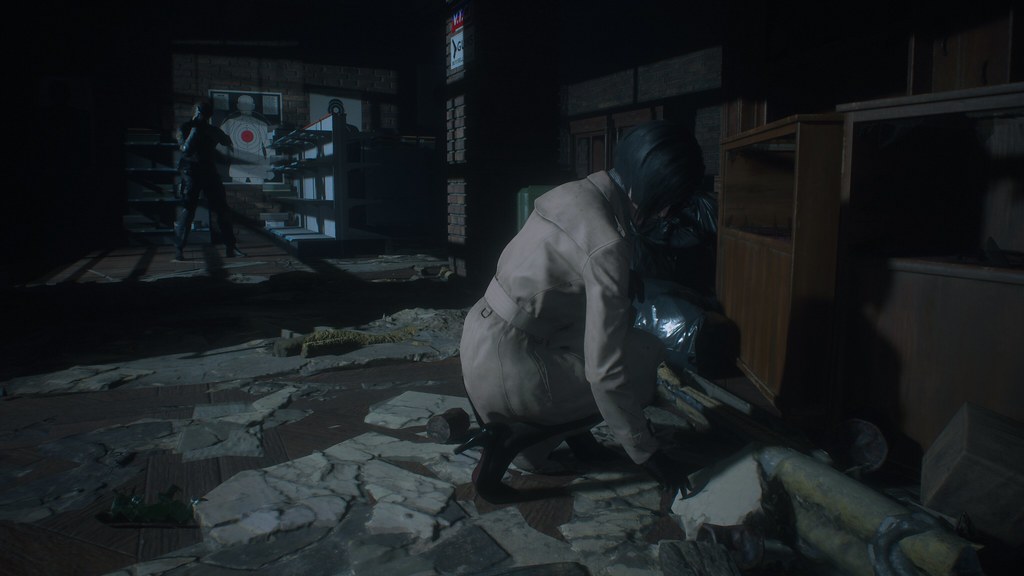
Access codes are well concealed, so make sure you read through any documents you find carefully, check any writing you find scribbled on walls, doors or whiteboards. Most will reference the floor and/or room the related stash is in, and (if you follow “Check your map”, above) you’ll have a mark on your map of any unopened lockers or safes.
Section 3: Managing your inventory
Travel light
Resident Evil 2 hails from a time before the invention of the near-bottomless inventory screens; there’s a limit to how much you can carry, with certain items taking up more room than others.
Whenever you happen upon a storage box (typically in a safe area) check your inventory and store anything you’re not likely to need in the immediacy: extra ammo or healing items, crafting materials, or items you haven’t yet found a use for. You can collect them at any time, from any storage box, anywhere in the game world, so there’s no need to haul them around.
Lastly, any item that’s no longer needed will have a red tick beside its thumbnail image in your inventory. Select that item and choose “discard” to permanently drop it.
Combining and examining items and limited-time damage buffs
Every item you find has a 3D model that you can examine in more detail from your inventory screen. It’s not just to be aesthetically pleasing: some items can be further interacted with to reveal secrets. These will be flagged with an on-screen prompt. Most items have a practical, real-world design: find a box’s lid to open it, for example.
The Arklay Mountains’ famed indigenous herbs still work in the classic fashion of past RE games: green heals, blue cures poison, red increases the potency of the previous two when mixed in.
Something briefly mentioned in the initial notes but not elaborated on is the additional buffs granted from certain mixes. Combine blue with red to not only cure any existing ailment, but it will grant you temporary resistance from poisoning. Combine red, green and blue for resistance to poison and a short-term defense buff. Consume this concoction and you’ll see a shield icon appear on the bottom right of the screen, overlaid on a gradually-decreasing green bar. For the duration of that bar you’ll take reduced damage – save these mixes for boss fights!
Operate beyond the lore
Peppering a game world with a little light reading is nothing new – books, diaries, reports and the like are all the rage for adventure games – and I’ll bet we’ve all been guilty of skim reading from time to time. In most games, you’ll likely be missing lore or back story, but in Resident Evil… well, you might be missing a big clue to the next beat in the story.
All the documents you collect will be stored in your inventory – if you get stuck, give these a careful read. Clues are typically highlighted in green, but some crucial information is less apparent.
Expanding inventory / upgrading weapons
Initially, you’ll have to make use of the storage boxes mentioned above to manage your limited inventory space. As you explore R.P.D. though, you’ll find inventory pouches, each increasing your inventory space by two additional slots.
The first you’ll likely spot is in the ground-floor Safety Deposit Room, though you’ll need to find a way to acquire it. Not to worry, there’s many more to be found throughout the game that vastly increase your carry capacity.
On top of these, almost all of the weapons you find in the game can be modified with custom parts, improving accuracy, recoil, loading capacity and much more… keep a close eye out for these, but keep in mind, modified weapons will take up more space in your inventory.
Section 4: The second half of the story
Unlocking extra campaigns
There are additional campaigns available in the game, which are unlocked when certain criteria are met.
Play the game as Leon, for example, and you’ll know that Claire is running around somewhere in the game world. Start a “2nd run” after your finished his campaign (go to Story mode, then 2nd run from the main menu) to experience Claire’s side of the story, retreading the adventure from a new perspective with adjusted puzzles, new weapons and a different story flow. After you’ve completed that, head back to the menu again – there might be more to discover.
Well, that’s all we’ve got – the rest will be up to you. Remember to bring nerves of steel, a panicked, high-pitched scream and a friend to cling to when things get too much and we’re sure you’ll get out of Raccoon City alive!








Comments are closed.
8 Comments
Loading More Comments